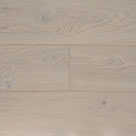
 Light
Light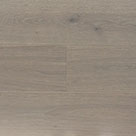 Grey
Grey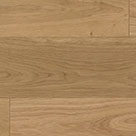 Natural
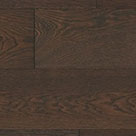 Dark
Dark White
White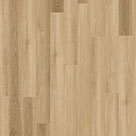 Light
Light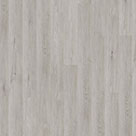 Grey
Grey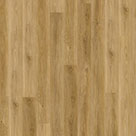 Natural
 Dark
Dark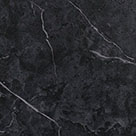 Black
Black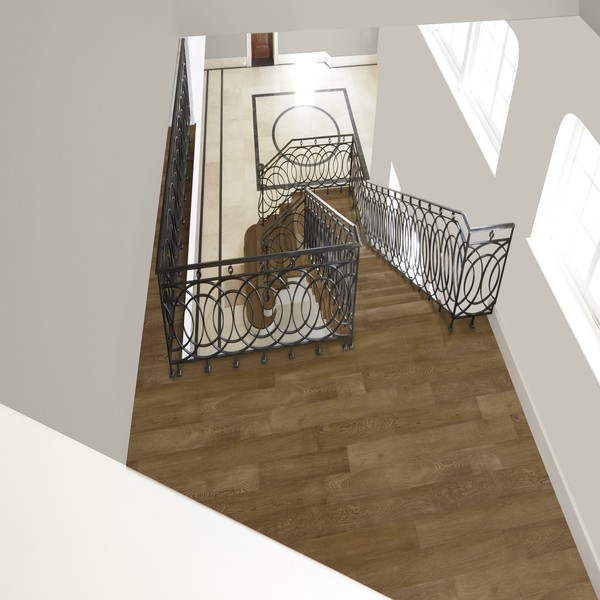
If you have laminate flooring in the entrance hallway and landing, then also fitting it to your staircase will give you a consistent appearance and a seamless transition between floors, increasing the feel of space no matter what size the actual areas are.
Even if you have fitted laminate wood flooring in other rooms though, many people are intimidated by the prospect of installing it on stairs. But if you are a competent DIY enthusiast you should have no issues, and this is a guide to help you through the process.
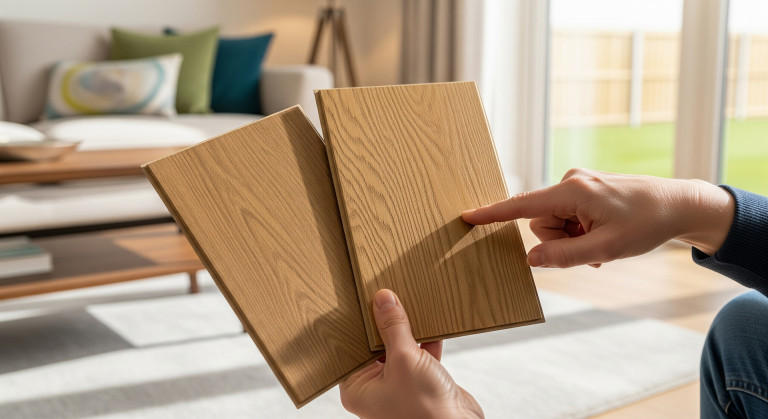
Before you start, you need to ensure you have all the materials and tools you will need for your project. You will require laminate flooring or stair treads, a riser and stair nosing for each tread. You can opt for either 8mm or 12mm laminate flooring. The nosing you buy should be either a perfect match or a contrast in colour to your flooring. Stair nosing is an essential flooring accessory, hiding the join between a tread and the riser. It also helps to reduce accidents such as slipping.
You will also require flooring adhesive such as gripfil, bench saw, tape measure, caulk gun and blade. Always read the manufacturers instructions fully before commencing any project and ensure the flooring has been left to acclimatize for the correct, recommended time.
Preparing the Stairs
Laminate flooring can be installed on any staircase as long as both sides have stringers. You cannot fit laminate flooring on to a staircase with an open side as you will be able to see the unfinished floor from the side, which will look unsightly.
Any old stair covering material, such as carpet, needs to be fully removed, not forgetting to get rid of old staples, nails or adhesives. It is a good idea to sand the surface to completely get rid of any debris.
You will have to affix some plyboard to wood stairs, or screed concrete stairs if they are not flat to level them out prior to installation.
If the existing staircase has a nosing, you must remove this with a chisel which will make the tread / riser square. This will stop the nosing from rocking and coming loose once laid.
Preparing the Flooring
You will firstly need to measure the squared off nose accurately and cut the stair noses for all the stairs. It is always worth checking multiple steps when measuring as they are not always the same, especially in older properties.
Once you have done this you can cut the treads. Measure the width first and cut all the treads to that width, again checking a couple to ensure consistency. Then place the nosing on a step and measure from the riser to the nosing for accuracy. Once you have cut all the treads you can work on the risers.
Cut the risers to the width of the stairs, then loose lay the riser on top of a step. You will need to put the laminate nosing on the step above so you can see where you will need to cut the riser for it to fit without it being too short or too high and causing the stair nose to rock.
Install the stairs and nosing’s
Once you have all the parts cut you are ready to start fixing them to the staircase. Start at the bottom of the flight and work upwards, remembering that once you have fitted and glued the laminate flooring to the stairs, you should avoid anyone walking on them until the adhesive has set.
Glue the first riser on the bottom step and then the tread and, finally, the laminate stair nose with gripfil Repeat the process until all the stairs are glued down. Be extremely careful when working on the staircase as the glue will not be set and you could move the laminate and nosing.
Check out our range of laminate flooring and matching accessories.
Good luck with your stair renovation project! If you have any queries, do let us know in the comments below.
To find out more please call 01803 416419 , or email sales@osbflooring.co.uk