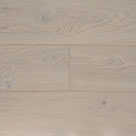
 Light
Light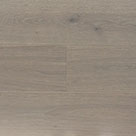 Grey
Grey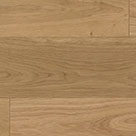 Natural
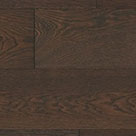 Dark
Dark White
White Light
Light Grey
Grey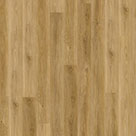 Natural
 Dark
Dark Black
Black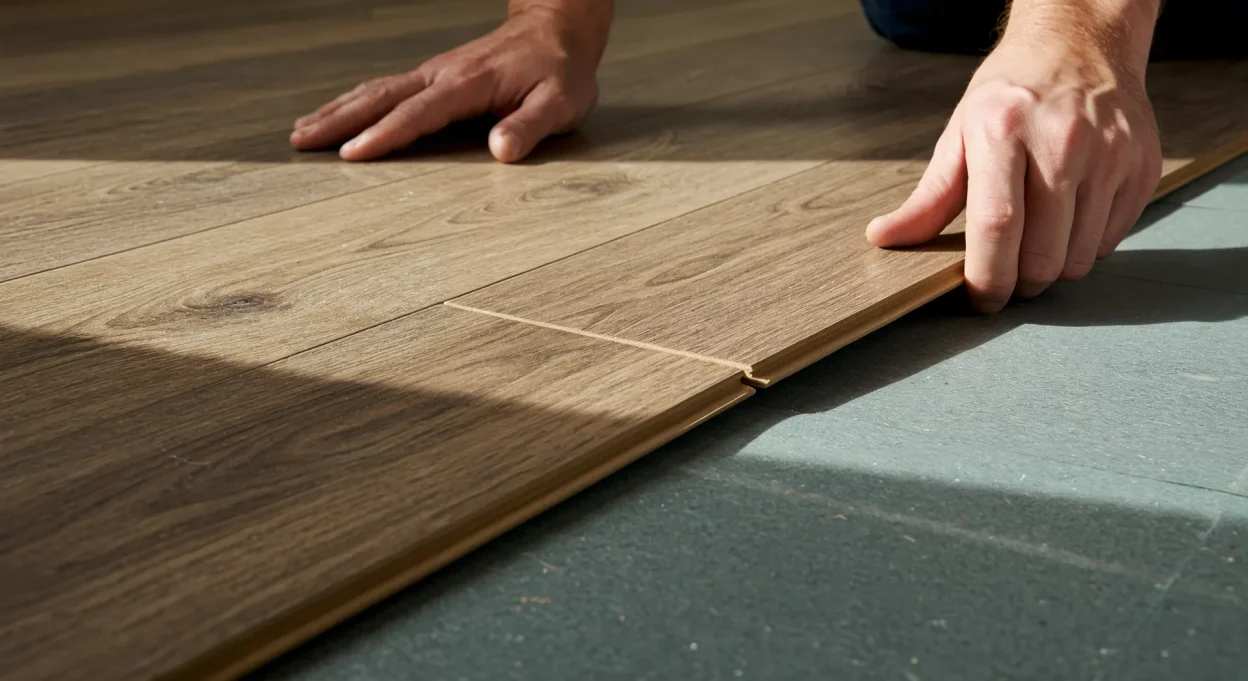
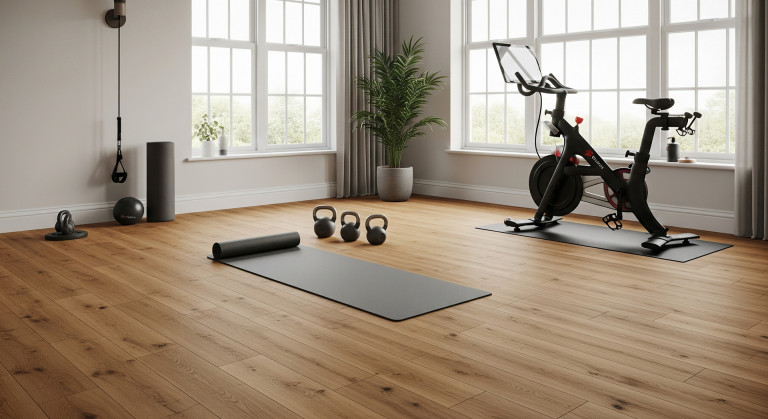
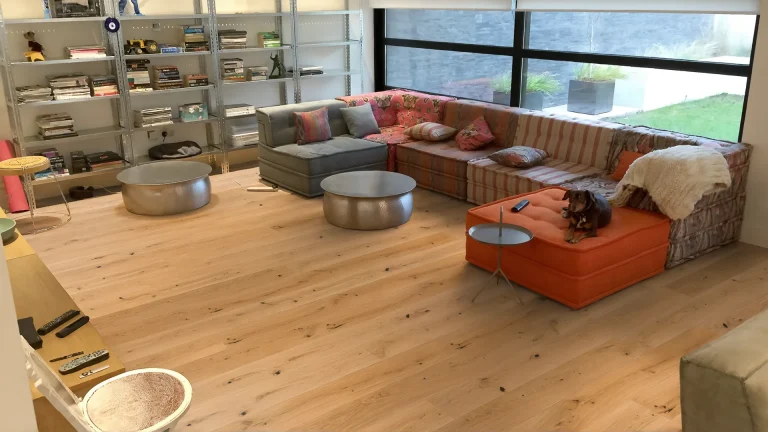
Laminate flooring is a massively popular choice across the UK, offering the desirable look of real wood or tile at a fraction of the cost, combined with impressive durability for everyday life. For homeowners looking to enhance their space affordably, learning how to lay laminate flooring themselves presents a very achievable and rewarding DIY project. Thanks to modern click-lock systems, fitting laminate doesn’t require specialist skills, just patience, preparation, and attention to detail.
However, laminate has specific characteristics – particularly its HDF (High-Density Fibreboard) core – that mean correct installation, especially regarding subfloor preparation and expansion gaps, is crucial for a long-lasting, professional finish. This comprehensive guide will walk you through every essential step of how to lay laminate flooring successfully in your UK home, from planning and preparation to cutting, clicking, and finishing like a pro.
Jump to Section:
- What is Laminate Flooring & Why is it a UK Favourite?
- Why Laminate is a Top Choice for DIY Installation
- Essential Planning: Before You Start Laying Laminate
- Your Laminate Flooring Toolkit: Must-Have Supplies
- Perfecting the Base: Preparing UK Subfloors for Laminate
- The Unseen Hero: Choosing & Installing Laminate Underlay (UK Advice)
- How to Lay Laminate Flooring: Your Step-by-Step Click-System Guide
- Finishing Touches: Skirting Boards, Beading, and Thresholds
- Avoid Laminate Nightmares: Common Installation Mistakes
- First Impressions: Caring for Your Newly Laid Laminate Floor
What is Laminate Flooring & Why is it a UK Favourite?
Understanding the material is the first step in learning how to lay laminate flooring correctly. Unlike solid or engineered wood, laminate is a composite product, typically comprising four layers:
- Wear Layer: A clear, tough top layer (usually melamine resin) providing resistance against scratches, stains, and fading.
- Decor Layer: A high-resolution photograph of wood grain, tile, or stone patterns, giving laminate its realistic appearance.
- Core Layer: The thickest layer, usually made from HDF (High-Density Fibreboard). This provides structure and impact resistance but is also the layer most susceptible to moisture damage if exposed.
- Backing Layer (Stabilising Layer): Provides stability and often some moisture resistance from below.
This construction makes laminate:
- Affordable: Generally less expensive than real wood or engineered wood.
- Durable: Offers good scratch and wear resistance for typical household use.
- Varied: Available in countless designs and colours.
- Low Maintenance: Easy to clean (see our how to clean laminate flooring guide).
- DIY-Friendly: Primarily uses click-lock installation.
However, its HDF core means it is not waterproof and requires careful handling regarding moisture and expansion.
Why Laminate is a Top Choice for DIY Installation
The primary reason laminate is favoured by DIYers is its click-lock installation system (often referred to by brand names like Uniclic®, etc.). Planks have precisely milled tongue-and-groove edges that simply click together without needing glue or nails. This makes installing laminate flooring significantly faster and less messy than many other flooring types.
Essential Planning: Before You Start Laying Laminate
Thorough planning is non-negotiable for a successful laminate floor installation.
- Measure & Calculate: Measure your room’s length and width accurately to get the square meterage. Add 10-15% extra flooring to this figure to account for cutting waste. Rooms with awkward angles or if you’re attempting patterns might need the higher end of this percentage.
- Order & Check: Order your laminate flooring, ensuring all packs have the same batch number to avoid noticeable colour/shade variations. Order your underlay, trims (skirting/beading, thresholds), and potential DPM (Damp Proof Membrane) at the same time.
- Acclimatisation (CRITICAL): Laminate’s HDF core must adjust to your home’s conditions. Leave the unopened packs lying flat in the centre of the room where they will be installed for at least 48-72 hours (check manufacturer’s specific time). Do not stack them against walls or on cold concrete floors directly. Skipping this step, especially in the UK’s changeable climate, risks severe buckling or gapping after installation. Ideal conditions are often cited as 15-22°C with 30-75% relative humidity.
- Read the Instructions: Always prioritise the specific fitting instructions supplied by your laminate flooring manufacturer. They contain vital details about expansion gaps, underlay compatibility, and warranty conditions.
Your Laminate Flooring Toolkit: Must-Have Supplies
Gathering the right tools beforehand makes how to lay laminate flooring much smoother:
- Tape Measure & Pencil
- Safety Glasses & Gloves
- Knee Pads
- Laminate Cutter: Highly recommended for clean, fast, dust-free straight cuts. Alternatively, a Fine-Toothed Saw (hand saw, jigsaw with laminate blade, mitre saw, or circular saw). Note on saws: Cut decor side UP with a hand saw; cut decor side DOWN with jigsaw/circular saw to minimise chipping.
- Spacers: Essential for maintaining expansion gaps (usually 8-12mm). Often included in installation kits.
- Tapping Block: Use one specifically designed for laminate or a clean offcut piece to avoid damaging plank edges.
- Rubber Mallet: For gently tapping the block.
- Pull Bar: Crucial for locking the last plank in a row near a wall.
- Utility Knife (for trimming underlay)
- Carpenter’s Square / Combination Square
- Level (long spirit level)
- Broom / Vacuum Cleaner
- Underlay Tape (if needed)
- (Optional) Moisture Meter (for subfloor checks)
- (Optional) Hand Saw or Multi-tool (for undercutting door frames)
- (Optional) Profile Gauge (for complex shapes)
Perfecting the Base: Preparing UK Subfloors for Laminate
A clean, dry, flat, and stable subfloor is the absolute foundation for successfully installing laminate flooring. Any imperfections will likely translate through to the finished floor, causing issues like squeaking, bouncing, or joint failure.
General Checks:
- Clean: Remove all old flooring, staples, nails. Sweep and vacuum thoroughly.
- Dry: Check for damp. Concrete subfloors on the ground floor in the UK almost always require a Damp Proof Membrane (DPM). Use a moisture meter if unsure (check manufacturer’s limits, often <75% RH for concrete, <12% MC for wood). Address any leaks before laying flooring.
- Level/Flat: This is critical for click systems. Use a long straight edge. Deviations should be minimal – typically no more than 2-3mm over a 2-metre span. Unevenness stresses the joints.
- Sound: Ensure the subfloor is solid.
Concrete Subfloors:
- Fill cracks/holes.
- If uneven, apply a suitable self-levelling compound. Allow it to cure fully as per instructions (this can take several days).
- Install a DPM: Lay 1000+ gauge polyethylene sheeting (overlapping seams by 200mm and taping) or use a liquid DPM before the underlay, unless your chosen underlay has a sufficient integrated DPM. Run the DPM slightly up the walls.
Wooden Subfloors (Floorboards/Chipboard):
- Screw down any loose boards firmly to prevent squeaks. Replace any damaged boards.
- Ensure nail/screw heads are countersunk.
- Sand down high spots or joints.
- For significant unevenness or gaps between floorboards, overlaying with flooring-grade plywood (minimum 6mm, ideally thicker) screwed down every 150-200mm provides the best smooth, stable base for laminate.
The Unseen Hero: Choosing & Installing Laminate Underlay (UK Advice)
Unlike some vinyl click, underlay is essential when laying laminate flooring. It performs several vital functions:
- Provides crucial support for the click-lock joints.
- Offers acoustic insulation (reduces walking noise).
- Provides thermal insulation.
- Smooths out minor subfloor imperfections.
- Acts as a moisture barrier (if it includes an integrated DPM).
Types Suitable for Laminate:
- PE Foam Underlay: Basic, often comes with silver/gold foil DPM backing. Good budget option.
- Fibreboard Underlay: Excellent thermal/acoustic insulation and good levelling properties. Comes in rigid boards. Not for damp areas.
- Cork Underlay:Natural, great insulation properties, durable but more expensive.
- Rubber/High-Density Foam: Premium options for maximum sound reduction and comfort.
Choosing: Select underlay specifically designed for laminate flooring. Thickness is usually 3-5mm – thicker isn’t always better and can strain joints if too spongy. Ensure it’s compatible with your subfloor (DPM needed for concrete?) and Underfloor Heating (UFH) if applicable (look for low Tog rating). Never use carpet underlay.
Installation:
- Clean the subfloor thoroughly.
- Roll out the underlay, usually perpendicular to the direction of the laminate planks.
- Butt the edges together closely (do not overlap unless designed to).
- Tape the seams securely using waterproof tape to join sections and maintain moisture barrier integrity.
- If using underlay with integrated DPM on concrete, ensure it runs slightly up the walls. Trim excess later.
How to Lay Laminate Flooring: Your Step-by-Step Click-System Guide
(Always refer to your specific product instructions first!)
- Direction & Starting Wall: Decide the direction (usually parallel to the longest wall or main light source). Choose your starting wall (often the longest, straightest one).
- Expansion Gaps (Vital!): Place 8-12mm spacers (check manufacturer spec) against the starting wall and side walls. This gap is non-negotiable around the entire perimeter and any fixed objects (pipes, pillars, kitchen islands, door frames). Laminate’s HDF core needs this space to expand and contract with UK humidity changes.
- First Row: Place the first plank in the corner, ensuring the correct edge faces the wall (often groove side to the wall, check instructions). Lay subsequent planks in the first row by clicking the short ends together. Ensure this first row is perfectly straight – use a chalk line if needed.
- Cutting Last Piece: Measure the last plank needed for the first row (remembering the expansion gap). Cut using appropriate method (laminate cutter or saw – see Tools section for technique). Keep the offcut if it’s a usable length (e.g., >300-400mm).
- Starting Subsequent Rows (Staggering): Begin the second row with the offcut from the first row (if suitable length). This creates the essential staggered joint pattern. Joints between rows must be offset by at least 1/3 of a plank length or ~30-40cm (check instructions). If the offcut is too short, cut a new plank to start the row. Mix planks from several boxes randomly as you go.
- Connecting Rows: Angle the long edge tongue of the new plank into the groove of the previous row. Lower it gently while ensuring the short end aligns with the preceding plank in its own row. Use the tapping block and mallet gently along the long edge to ensure a tight fit if necessary. Click the short ends together firmly. Do not hammer directly on the plank or force the joints.
- Continue Across Room: Work systematically across the room, row by row, maintaining the staggered pattern and the crucial expansion gap around all edges and obstacles.
- Obstacles:
– Door Frames/Architraves: Undercut the bottom using a hand saw or multi-tool (use an offcut plank + underlay scrap as a height guide). Slide the flooring underneath for a professional finish.
– Radiator Pipes: Measure pipe positions accurately. Drill holes in the plank approx. 15-20mm larger than the pipe diameter (to allow for expansion gap). Cut a line from the holes to the plank edge. Fit the plank around the pipes. Glue the small cut-out piece back in place. Cover the gaps neatly with pipe surrounds (rosettes). - Final Row: Measure the width needed for the last row against the wall (remembering the expansion gap). You’ll likely need to cut planks lengthwise (a ‘rip cut’). Use the pull bar carefully to hook onto the cut edge and gently tap it with the mallet to pull the last row tightly into place against the spacers.
Finishing Touches: Skirting Boards, Beading, and Thresholds
- Remove Spacers: Only once the entire floor is laid.
- Cover Expansion Gaps:
– Skirting Boards: Reinstall original skirting or fit new ones on top of the flooring edge, fixing them to the wall, not the floor. This hides the gap and allows movement.
– Scotia/Beading/Quadrant Trim: If keeping existing skirting, fit this trim into the angle between the floor and skirting, fixing it to the skirting, not the floor. - Threshold Strips: Install appropriate transition strips in doorways or where laminate meets other flooring types (e.g., carpet, tiles). Ensure the strip allows the laminate to float freely underneath where necessary. Use types like T-bars (same level), ramps (different levels), or end profiles.
Avoid Laminate Nightmares: Common Installation Mistakes
- Insufficient/No Expansion Gap: The #1 cause of buckling laminate! Leave 8-12mm minimum everywhere.
- Poor Subfloor Prep: Leads to noise, movement, joint failure. Level, clean, and dry is essential.
- Skipping Acclimatisation: Causes expansion/contraction issues after fitting.
- Wrong/No Underlay: Compromises joint support, comfort, sound, and moisture protection.
- Forcing Joints: Damages the click system. Ensure correct alignment and gentle tapping.
- Not Staggering Joints: Creates weak points and looks unprofessional.
- Cutting Decor Side Up (with wrong saw): Leads to ugly chips on the visible surface.
First Impressions: Caring for Your Newly Laid Laminate Floor
- Give the floor a thorough sweep or vacuum (soft brush) to remove installation dust.
- If needed, wipe with a very lightly damp microfibre mop (use plain water or laminate-safe cleaner). Do not overwet.
- Install felt protector pads on all furniture legs immediately.
- Place quality doormats at entrances.
Conclusion
Successfully mastering how to lay laminate flooring is a fantastic achievement for any UK homeowner. By prioritising meticulous preparation, understanding the importance of acclimatisation and expansion gaps, using the correct underlay, and carefully following the step-by-step click-system installation process outlined here (and in your manufacturer’s guide), you can achieve a durable, stylish, and professional-looking floor. Remember the golden rules: prepare well, leave space for movement, keep moisture away, and don’t force it! Enjoy the satisfaction and savings of your brilliant DIY laminate floor installation.