 Light
Light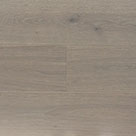 Grey
Grey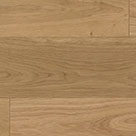 Natural
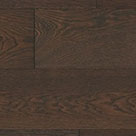 Dark
Dark White
White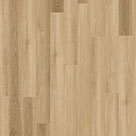 Light
Light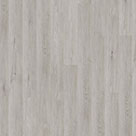 Grey
Grey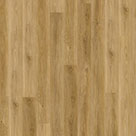 Natural
 Dark
Dark Black
Black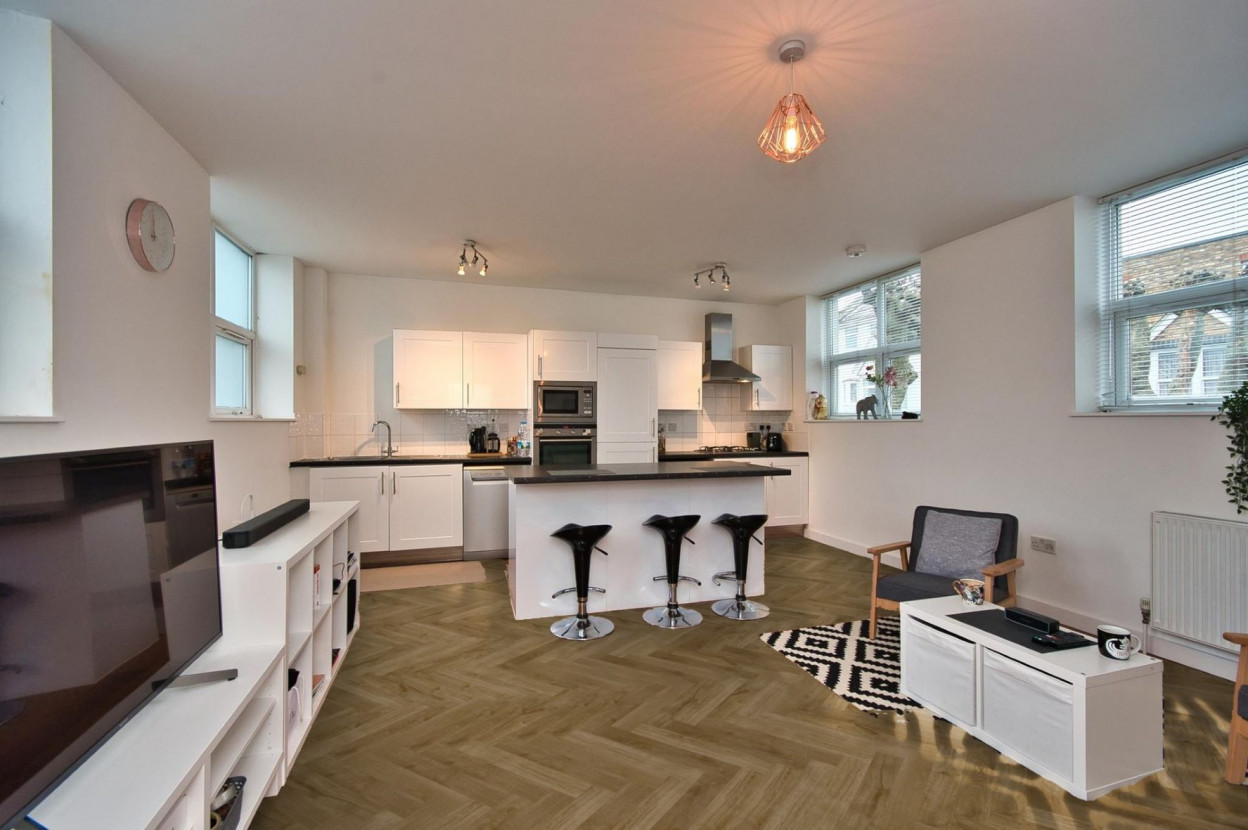
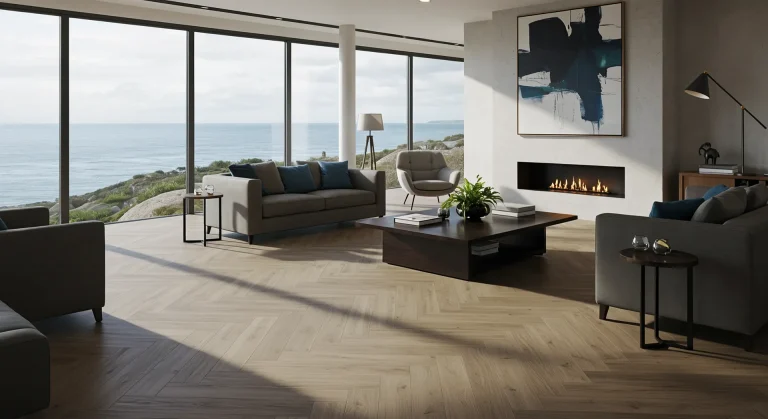
The stunning geometry of the herringbone pattern has captivated homeowners for centuries. Originating from Roman road designs and later gracing the opulent salons of France, this intricate layout instantly elevates any room, adding a sense of luxury, history, and dynamic movement. Traditionally achieved with solid wood, the desirable herringbone look is now more accessible and practical than ever, thanks to LVT herringbone flooring.
Luxury Vinyl Tile (LVT), including plank formats (LVP), offers the perfect blend of aesthetic versatility and modern performance. If you’re dreaming of bringing the timeless elegance of herringbone into your UK home, LVT herringbone flooring provides a durable, water-resistant, and often cost-effective solution. But how do you choose the right type? What’s involved in the installation? And how do you keep it looking flawless?
This comprehensive guide covers everything you need to know about lvt herringbone flooring, from design inspiration and product selection to step-by-step installation and long-term care.
Jump to Section:
- What Makes Herringbone Floors So Timelessly Appealing?
- Why is LVT the Perfect Partner for the Herringbone Pattern?
- Click vs. Glue-Down: Choosing Your LVT Herringbone Flooring Type
- Designing Your Dream Space with LVT Herringbone
- Planning Your Flooring Project: Measure Twice, Lay Once!
- Essential Tools for Your LVT Herringbone Installation
- Step-by-Step: Installing Click LVT Herringbone Flooring Like a Pro
- Step-by-Step: Mastering Glue-Down LVT Herringbone Installation
- Keeping Your Herringbone Gorgeous: LVT Care & Maintenance
- LVT Herringbone Flooring: Weighing the Pros and Cons
- Budgeting for Beauty: Cost Considerations for LVT Herringbone
What Makes Herringbone Floors So Timelessly Appealing?
The enduring popularity of the herringbone pattern isn’t just about its historical roots; it’s about its powerful visual impact. The interlocking ‘V’ shape creates a sense of energy and flow, drawing the eye across the room. Key benefits include:
- Illusion of Space: The angular pattern can make narrow rooms appear wider and smaller spaces feel larger and more dynamic.
- Luxury Aesthetic: It’s intrinsically linked with classic, high-end design, adding sophistication and character.
- Versatility: While classic, herringbone lvt suits various decor styles – from traditional and Parisian chic to modern farmhouse, industrial, and contemporary Scandi looks popular in the UK.
- Focal Point: A herringbone floor naturally becomes a standout feature, adding texture and interest without overwhelming the space.
Why is LVT the Perfect Partner for the Herringbone Pattern?
While traditional wood herringbone is beautiful, it comes with challenges: cost, installation complexity, and sensitivity to moisture. LVT herringbone flooring overcomes many of these hurdles:
- Design Freedom: LVT offers an incredible array of designs. Achieve realistic wood effects (like oak, walnut, ash in various shades) or even stone or abstract patterns in a herringbone layout – far more variety than solid wood allows.
- Durability: High-quality LVT boasts a tough wear layer (typically polyurethane-based) that resists scratches, scuffs, stains, and heavy footfall – ideal for busy UK homes.
- Water Resistance: Unlike wood, LVT is highly water-resistant or even fully waterproof, making luxury vinyl herringbone suitable for kitchens, bathrooms, hallways, and utility rooms where wood is often ill-advised.
- Stability: LVT is less prone to expanding and contracting with temperature and humidity changes compared to solid wood, making it a more stable choice, especially with underfloor heating systems common in the UK.
- Comfort & Quiet: Often warmer underfoot than stone or ceramic, LVT can also offer better sound absorption, especially click systems installed with underlay.
- Maintenance: Simple cleaning routines (sweeping, damp mopping) are all that’s needed. See our guide on how to clean luxury vinyl flooring.
- Installation: While intricate, LVT herringbone installation (especially click systems) is generally more manageable and less costly than traditional wood block fitting.
Click vs. Glue-Down: Choosing Your LVT Herringbone Flooring Type
LVT herringbone flooring typically comes in two main installation formats:
Click LVT Herringbone:
- How it Works: Planks or tiles feature interlocking edges (like a jigsaw puzzle) that ‘click’ together, creating a ‘floating’ floor that sits over an underlay. Herringbone click systems often use specific ‘A’ and ‘B’ planks to create the pattern correctly.
- Pros: Easier and faster for DIY installation, minimal subfloor preparation often needed (can go over existing hard floors if level), easy plank replacement if damaged, often comes with pre-attached underlay or requires a separate one offering cushioning, sound insulation, and moisture protection.
- Cons: Can be slightly thicker overall (plank + underlay), potentially slightly noisier underfoot than glue-down if underlay isn’t high quality, may have limitations in very large areas without expansion breaks.
- Best For: DIY projects, installations over existing floors, areas where slight cushioning is desired.
Glue-Down LVT Herringbone:
- How it Works: Individual planks or tiles are adhered directly to the subfloor using a recommended LVT adhesive.
- Pros: Extremely stable (ideal for areas with temperature fluctuations like conservatories), allows for intricate custom designs (borders, features strips for a ‘grouted’ look), often thinner profile, typically quieter underfoot.
- Cons: Requires a perfectly smooth, level, and clean subfloor (significant preparation often needed – screeding, plywood), installation is more time-consuming and requires skill (often best left to professionals), more difficult to replace individual pieces if damaged, can be harder to remove later.
- Best For: Professional installations, large areas, conservatories, commercial spaces, situations requiring maximum stability, creating custom borders.
Designing Your Dream Space with LVT Herringbone
Choosing lvt herringbone flooring opens up exciting design possibilities:
- Plank Size: Herringbone LVT often comes in smaller plank sizes than standard LVT planks to create the intricate pattern effectively. Consider the scale of your room – larger planks can look grand in spacious areas, while smaller planks suit more compact rooms.
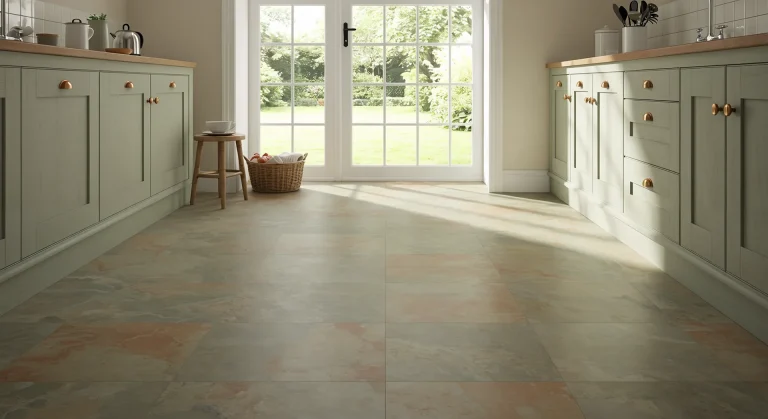
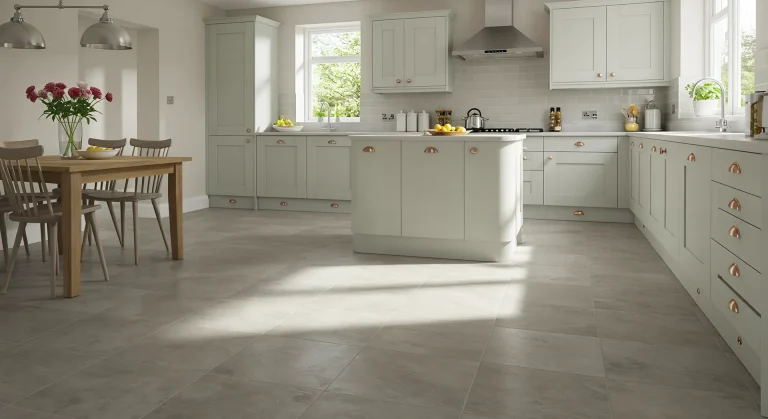
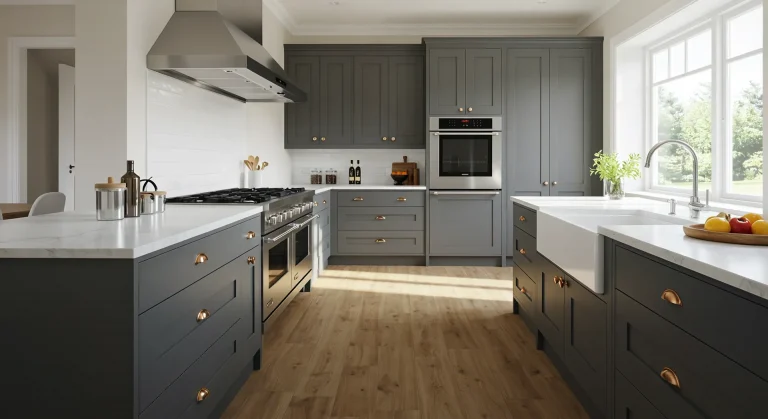
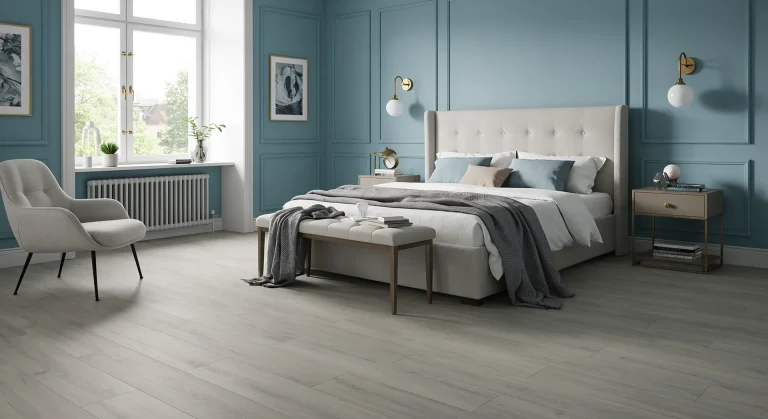
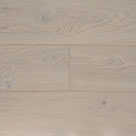
- Colour & Tone: Light colours (like pale oak or whitewashed effects) make spaces feel airy and bright. Mid-tones (natural oak, greys) are versatile and hide dirt well. Dark tones (walnut, dark grey, ebony) create drama and sophistication but may show dust more readily. Consider the room’s natural light and existing decor.
- Texture: Many LVT products feature registered embossing, meaning the surface texture aligns with the printed wood grain or stone pattern, adding realism.
- Borders & Features: Glue-down LVT allows for creativity. Consider adding a contrasting border around the room’s perimeter or using feature strips between tiles for a faux grout line, enhancing the classic appeal.
- Direction: The ‘point’ of the herringbone ‘V’ can be oriented to draw the eye towards a focal point (like a fireplace or window) or positioned to maximise the sense of width or length in a room.
Planning Your Flooring Project: Measure Twice, Lay Once!
Proper planning is crucial for a successful lvt herringbone flooring installation:
- Measure Accurately: Calculate the square meterage of your room (length x width). Add 10-15% for cutting waste – herringbone patterns typically require more cuts than standard plank layouts.
- Acclimatisation: LVT needs to adjust to the room’s temperature and humidity. Leave the unopened boxes flat in the room for at least 48 hours (or as per manufacturer instructions) before installation.
- Subfloor Preparation: This is critical, especially for glue-down. The subfloor must be clean, dry, structurally sound, and perfectly level.
– Concrete: Check for moisture (use a moisture meter if needed). Fill cracks/holes. Self-levelling compound may be required for unevenness.
– Wood Subfloors: Secure loose boards. Sand high spots. Plywood overlayment might be needed for smoothness.
– Existing Tiles: Can sometimes be laid over if perfectly level and stable (check LVT instructions). Click LVT with underlay is often better for this. - Layout Planning: Herringbone starts from the centre.
– Find the exact centre point of the room.
– Snap chalk lines intersecting at the centre point, ensuring they are perfectly square to the main walls. These lines are your primary reference guides.
– Dry-lay a few rows of your A/B planks along these lines to visualise the pattern and ensure your starting point looks balanced.
Essential Tools for Your LVT Herringbone Installation
- Tape Measure
- Pencil
- Utility Knife / LVT Cutter
- Chalk Line
- Carpenter’s Square / Combination Square
- Spacers (for expansion gap with click LVT)
- Tapping Block & Rubber Mallet (for click LVT)
- Pull Bar (for click LVT edges)
- Notched Trowel (correct size for glue-down adhesive)
- LVT Adhesive (manufacturer recommended for glue-down)
- Floor Roller (heavy – essential for glue-down)
- Gloves & Safety Glasses
- Knee Pads
- Cleaning Cloths
Step-by-Step: Installing Click LVT Herringbone Flooring Like a Pro
(Always follow the specific instructions provided by your flooring manufacturer)
- Install Underlay (If Required): Roll out the underlayment according to its instructions, taping seams if necessary.
- Establish Starting Point: Using your centre chalk lines, place your first ‘A’ and ‘B’ planks precisely to form the initial ‘V’ point, ensuring it aligns perfectly with your reference lines.
- Engage Click-Lock System: Typically, you’ll connect the short end (header joint) of one plank into the long side groove of the adjacent plank at an angle, then lower it to lock. Refer to the A/B plank guidance – this ensures the pattern forms correctly. Use the tapping block and mallet gently if needed to ensure tight joints.
- Build Outwards: Continue adding A and B planks row by row, building the pattern outwards from your central starting point. Maintain consistency and check alignment frequently against your chalk lines.
- Expansion Gap: Remember to leave an expansion gap (typically 8-10mm) around the perimeter of the room (walls, pipes, door frames) using spacers. This allows the floating floor to move naturally.
- Cutting Edge Pieces: Measure carefully and cut planks using a sharp utility knife or LVT cutter to fit against walls. Use the pull bar to help lock the final row pieces into place.
- Finishing: Remove spacers and install skirting boards or scotia trim to cover the expansion gap.
Step-by-Step: Mastering Glue-Down LVT Herringbone Installation
(Professional installation often recommended. Always follow manufacturer adhesive and flooring instructions)
- Perfect Subfloor: Ensure the subfloor is impeccably clean, dry, and level (see Planning section).
- Layout Lines: Mark your centre point and perpendicular reference lines accurately with chalk.
- Apply Adhesive: Using the correct notched trowel, spread a thin, even layer of the recommended LVT adhesive onto a manageable section of the subfloor, starting near your centre lines. Follow adhesive instructions regarding ‘open time’ (how long before you must lay tiles). Do not spread adhesive over the entire room at once.
- Place First Tiles: Carefully place your first A/B herringbone tiles precisely onto the adhesive along your reference lines, pressing firmly. Ensure the pattern starts correctly.
- Continue Laying: Work outwards section by section, applying adhesive and setting tiles firmly. Check alignment constantly. Slide tiles slightly into place if needed before the adhesive sets. Clean off any adhesive seepage immediately with appropriate wipes.
- Cutting Edge Pieces: Measure and cut tiles accurately to fit the room edges. Apply adhesive carefully near the walls.
- Roll the Floor: Once the installation is complete and the adhesive has set appropriately (check times), use a heavy floor roller (often 100lb/45kg) across the entire floor in both directions to ensure a firm bond and remove air bubbles.
- Curing: Keep foot traffic off the floor for the adhesive’s recommended curing time (often 24-72 hours).
- Finishing: Install trims as needed.
Keeping Your Herringbone Gorgeous: LVT Care & Maintenance
Maintaining your lvt herringbone flooring is straightforward:
- Sweep/Vacuum Regularly: Daily removal of grit is key. Use a soft brush or vacuum on a hard floor setting.
- Damp Mop Weekly: Use a microfibre mop, well wrung-out, with water or a pH-neutral cleaner designed for luxury vinyl. Avoid soaking the floor or using steam mops. Clean following the ‘V’ pattern direction if desired.
- Clean Spills Promptly: Although water-resistant, don’t let spills sit.
- Use Protective Pads: Felt pads under furniture are essential.
- Avoid Harsh Chemicals: Steer clear of abrasive cleaners, wax, oil soaps, ammonia, or bleach.
- Deep Clean Periodically: Use your pH-neutral cleaner for a more thorough wash every few months.
LVT Herringbone Flooring: Weighing the Pros and Cons
- Pros: Stunning high-end aesthetic, durable & hardwearing, water-resistant, huge design variety (wood/stone effects), stable (good with UFH), easier/cheaper installation than wood herringbone, comfortable underfoot, easy routine maintenance.
- Cons: Installation (esp. glue-down) requires precision and time (or professional cost), needs a very level subfloor (esp. glue-down), potentially more cutting waste than standard planks, can be harder to repair deep scratches than replacing a single standard plank, initial product cost can be higher than standard LVT planks.
Budgeting for Beauty: Cost Considerations for LVT Herringbone
The cost of lvt herringbone flooring in the UK varies based on:
- Product Quality: Wear layer thickness, brand reputation, design complexity. Expect to pay slightly more per square metre than standard LVT planks.
- Click vs. Glue-Down: Click LVT might have a higher product cost but lower DIY/installation cost. Glue-down might be cheaper per box but requires more subfloor prep and potentially professional fitting costs.
- Underlay (Click): Factor in the cost of good quality underlay if not pre-attached.
- Adhesive (Glue-Down): Requires specific LVT adhesive.
- Subfloor Prep: Costs for self-levelling compound or plywood can add significantly if needed.
- Installation Labour: Professional fitting costs vary by region and complexity. Herringbone patterns typically cost more to install than straight planks.
Get detailed quotes including materials, prep, and labour for an accurate budget.
Conclusion
LVT herringbone flooring offers a fantastic way to achieve a luxurious, timeless look in your UK home without the drawbacks of traditional materials. With its durability, water resistance, vast design potential, and relative ease of care, it’s a practical yet stunning choice. Whether you opt for the DIY-friendly click system or the ultra-stable glue-down method, careful planning and correct installation are key to unlocking the full beauty of the herringbone pattern. By following the guidance in this guide, you can confidently choose, install, and maintain lvt herringbone flooring that will be a cherished feature of your home for many years.
Ready to Plan Your Herringbone Project?
As this guide highlights, accurate measurements are the foundation of a successful installation, especially for a herringbone pattern which requires extra material for cutting waste. Ensuring your initial calculations are precise is the best way to create an accurate budget and order the correct amount. For a detailed walkthrough on this vital first step, including how to handle alcoves and L-shaped rooms, please see our complete guide on how to measure a room.