 Light
Light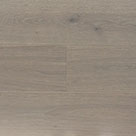 Grey
Grey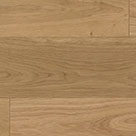 Natural
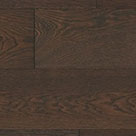 Dark
Dark White
White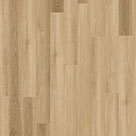 Light
Light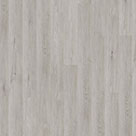 Grey
Grey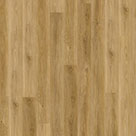 Natural
 Dark
Dark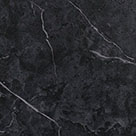 Black
Black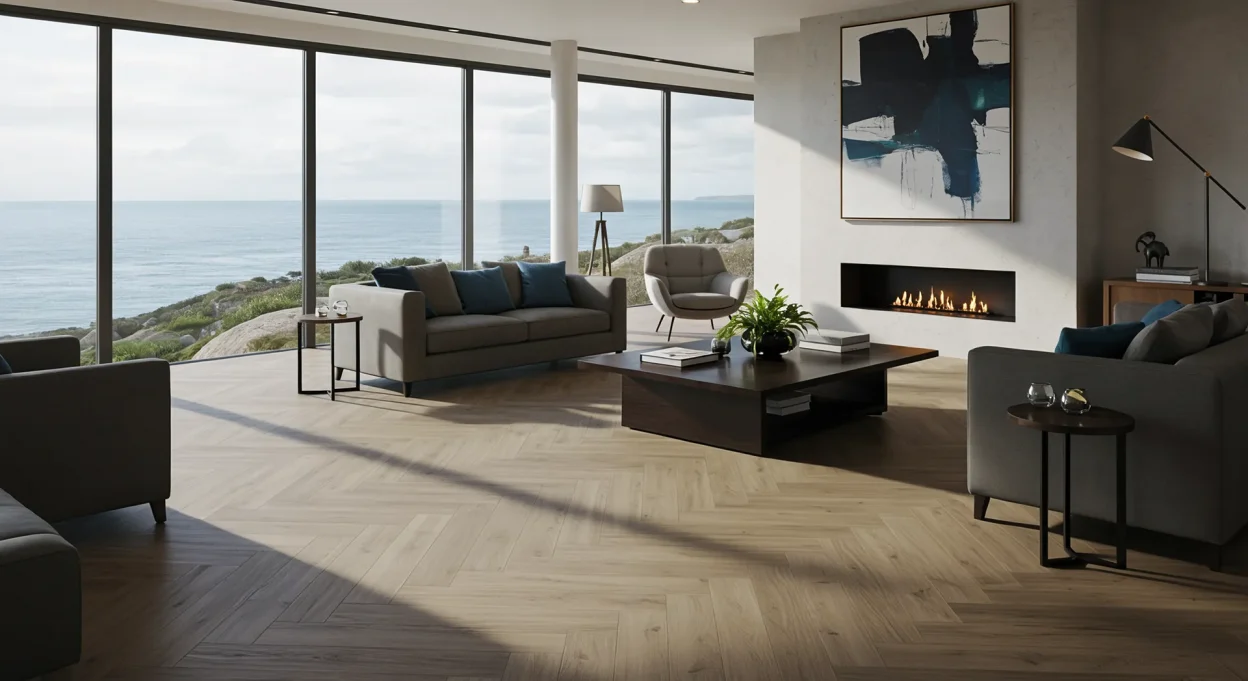
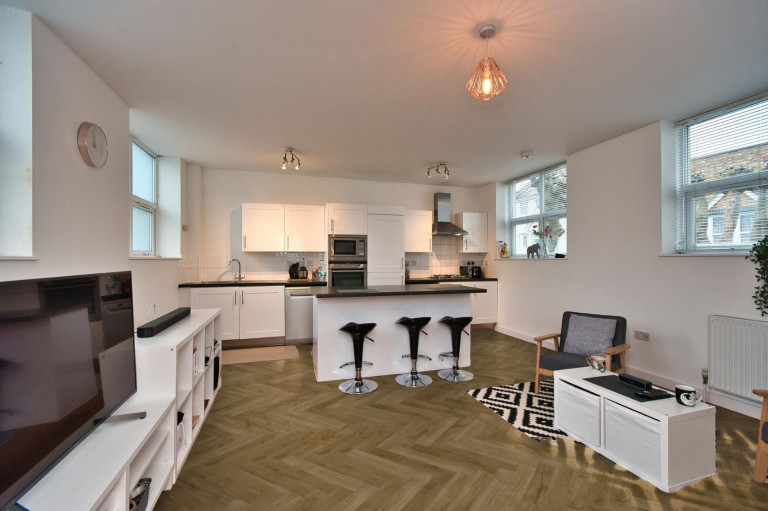
The intricate zigzag of herringbone is one of the most desirable and timeless floor patterns, instantly adding a touch of sophistication and luxury to any room. Traditionally achieved with expensive solid wood blocks requiring expert fitting, this high-end look might seem out of reach for many UK homeowners. Enter herringbone laminate flooring – the stylish and affordable solution bringing this classic pattern into the realm of accessible home improvement and DIY projects.
If you’re captivated by the herringbone aesthetic but mindful of budget and practicality, learning how to lay herringbone laminate flooring could be your perfect project. This guide provides a complete, step-by-step walkthrough tailored for UK homes in 2025. We’ll cover everything from understanding the material and choosing the right product to meticulous preparation, detailed installation instructions, and essential care tips to keep your stunning new floor looking its best.
Jump to Section:
- What is Herringbone Laminate Flooring? The Affordable Style Secret
- The Allure: Why Choose Herringbone Laminate for Your UK Home?
- Style Showcase: Designs & Looks in Herringbone Laminate
- Weighing it Up: Pros and Cons of Herringbone Laminate Flooring
- Selecting the Best Herringbone Laminate: UK Buyer’s Guide (2025)
- Essential Prep: Getting Ready to Lay Your Herringbone Laminate
- Tools for the Task: Your Herringbone Laminate Installation Kit
- Underlay Matters: Choosing the Right Base for Laminate Herringbone
- How to Lay Herringbone Laminate Flooring: Step-by-Step DIY Guide
- Finishing Touches: Skirting, Beading, and Thresholds
- Keeping it Flawless: Caring for Herringbone Laminate Flooring
- Herringbone Laminate Costs in the UK: A 2025 Overview
- Is Herringbone Laminate the Smart Choice for You?
What is Herringbone Laminate Flooring? The Affordable Style Secret
It’s crucial to understand what herringbone laminate flooring actually is. Unlike traditional wood parquet made from individual solid wood blocks, laminate flooring is a multi-layered synthetic product:
- Wear Layer: A tough, clear top coat (usually melamine resin) providing scratch, stain, and fade resistance.
- Decor Layer: A high-resolution printed image that simulates the appearance of small wood blocks arranged in a herringbone pattern. This is key – it’s a picture of herringbone, not actual wood blocks.
- Core Layer: Made from HDF (High-Density Fibreboard), providing structure and impact resistance. This core is sensitive to moisture.
- Backing Layer: Provides stability and some protection from below.
Herringbone laminate flooring is manufactured in plank form, often shorter and narrower than standard laminate planks, specifically designed to create the pattern easily via a click-lock system. Some systems use identical planks, while others use designated ‘A’ and ‘B’ planks that interlock in a specific way to form the ‘V’ shape.
The Allure: Why Choose Herringbone Laminate for Your UK Home?
This flooring type has become incredibly popular in the UK for several compelling reasons:
- Affordability: This is its biggest advantage. It allows homeowners to achieve the coveted, high-end herringbone look for significantly less cost than solid wood, engineered wood, or often even LVT alternatives.
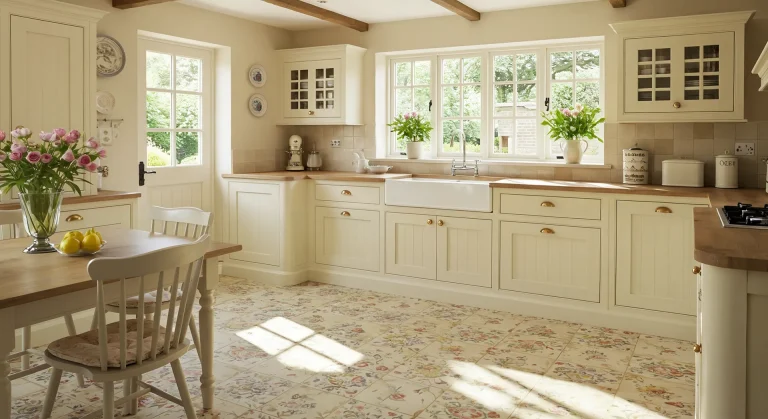
- Stunning Aesthetics: Modern printing technology creates highly realistic wood effects (oak, walnut, grey tones being UK favourites), capturing the visual drama and elegance of the herringbone pattern effectively.
- DIY-Friendly Installation: The click-lock system is specifically designed for homeowners to install themselves, saving considerably on professional fitting costs often required for wood parquet.
- Surface Durability: The melamine wear layer offers good resistance to everyday scratches, scuffs, impacts, and stains, making it practical for busy households. Look for AC ratings (AC3 for light domestic, AC4 for general domestic, AC5 for heavy domestic/light commercial use).
- Easy Maintenance: Requires simple sweeping/vacuuming and occasional damp mopping with laminate-safe cleaners. No waxing or oiling needed.
- Variety: Available in a vast range of colours, wood effects, and plank sizes to suit different tastes and room scales.
Style Showcase: Designs & Looks in Herringbone Laminate
The design possibilities with herringbone laminate flooring are extensive:
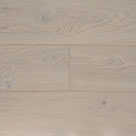
- Wood Effects: Realistic replicas of popular woods like Oak (in natural, light, grey, dark smoked finishes), Walnut, Ash, and Beech are widely available from UK retailers.
- Colours: Greys and natural/light oak tones remain very popular for achieving modern or Scandi looks. Warmer mid-browns and richer walnuts are also available for more traditional or cosy aesthetics. Some brands even offer dramatic black or white options.
- Texture: Many ranges feature textured surfaces (embossing) that align with the printed grain, adding to the realism.
- Plank Size: Herringbone laminate planks are typically smaller than standard planks (e.g., around 100mm wide x 600mm long) to create an authentic pattern scale. Consider how the size will look in your room – smaller planks can make small rooms feel busier, while slightly larger herringbone planks might suit bigger spaces.
- Bevelled Edges: Planks with bevelled edges (a slight V-groove where planks meet) define each individual “block” more clearly, enhancing the pattern’s definition. Non-bevelled (square edge) gives a flatter, more seamless look.
Weighing it Up: Pros and Cons of Herringbone Laminate Flooring
It’s important to be realistic about the trade-offs:
Pros:
- Cost-Effective: Significantly cheaper than wood/engineered/often LVT herringbone.
- Achievable High-End Look: Mimics expensive parquet styles affordably.
- DIY Installation: Click system makes fitting accessible for competent DIYers.
- Good Surface Durability: Wear layer resists scratches, stains, fading well (check AC rating).
- Easy to Clean: Simple maintenance routine.
- Wide Design Choice: Huge variety of wood effects and colours.
Cons:
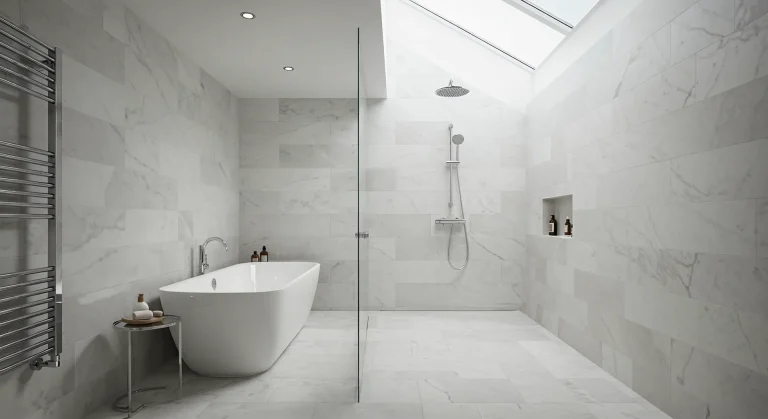
- Moisture Sensitivity: The HDF core is vulnerable to water damage. Spills must be wiped up immediately. Not suitable for bathrooms or wet rooms, and requires caution/specific water-resistant types for kitchens. Even high humidity can cause issues if edges aren’t sealed properly or expansion gaps are insufficient. Reviews sometimes mention warping/swelling issues related to moisture or even light cleaning if not done correctly.
- Not Real Wood: Lacks the unique feel, warmth, sound, and refinishing potential of wood. It’s a photographic reproduction, and pattern repeats can sometimes be noticeable on cheaper products.
- Cannot be Repaired/Refinished: Damage to the wear layer (deep scratches, chips) is permanent. Unlike wood, it cannot be sanded down. Damaged planks must be replaced (which can be tricky mid-floor).
- Potential for Noise: Can sound slightly ‘clicky’ or hollow underfoot compared to denser floors, although a quality underlay mitigates this significantly.
- Locking System Quality: Some reviews highlight that the click mechanisms on certain (often cheaper) herringbone laminate products can be fragile or prone to damage during installation or if the subfloor isn’t perfectly flat.
Selecting the Best Herringbone Laminate: UK Buyer’s Guide (2025)
When choosing herringbone laminate flooring in the UK:
- Check the AC Rating: This indicates wear resistance. AC3 is suitable for bedrooms/light use. AC4 is recommended for general domestic use (living rooms, hallways). AC5 offers heavy domestic/light commercial durability. Don’t skimp on this for busy areas.
- Consider Thickness: Common thicknesses range from 8mm to 12mm. Thicker laminate (10mm, 12mm) generally feels more solid underfoot, offers better stability, improves sound insulation slightly, and can be more forgiving of tiny subfloor imperfections. 8mm is often fine for smoother subfloors and lighter traffic areas.
- Look at Warranty: A longer warranty (e.g., 15-25 years) often indicates manufacturer confidence in the product’s durability.
- Brand Reputation: Brands like Quick-Step, Egger, Kronotex have a strong presence in the UK laminate market. Check recent reviews for specific ranges, paying attention to comments on ease of clicking, durability, and finish quality. Local flooring suppliers (like those potentially near Paignton) can offer valuable advice on brands known to perform well locally.
- Water Resistance Claims: Some laminates are marketed as ‘water-resistant’ (often for spills up to 24/48/72 hours due to edge sealing technology). Be clear this is not waterproof like LVT. Check the exact specifications and limitations – they usually still aren’t recommended for bathrooms.
- Click System: Understand if you need A/B planks or if it’s a universal click for the herringbone pattern.
Essential Prep: Getting Ready to Lay Your Herringbone Laminate
As with any laminate, preparation is 90% of the job for installing herringbone laminate flooring:
- Acclimatise: Leave unopened boxes flat in the room for 48-72 hours minimum.
- Subfloor: Must be Clean, Dry, and Level. Use a long level or straight edge – maximum 2-3mm deviation over 2m. Fill dips with levelling compound on concrete. Secure loose floorboards and consider a plywood overlay if uneven.
- DPM: Essential on ground-floor concrete subfloors in the UK.
- Underlay: Lay appropriate laminate underlay (see next section).
- Tools: Gather all necessary tools (see list below).
- Plan Layout: Herringbone must be planned from the centre outwards. Find the exact room centre, snap perpendicular chalk lines. Dry lay several planks to check the pattern start and ensure you won’t end with tiny slivers at the walls.
Tools for the Task: Your Herringbone Laminate Installation Kit
- Laminate Cutter (highly recommended for clean, straight cuts) or Fine-Toothed Saw (Jigsaw/Mitre/Hand Saw)
- Tape Measure & Pencil
- Spacers (8-12mm)
- Rubber Mallet (white)
- Tapping Block (laminate specific)
- Pull Bar
- Carpenter’s Square / Combination Square
- Utility Knife
- Safety Glasses & Gloves
- Knee Pads
- Chalk Line
- Vacuum Cleaner
Underlay Matters: Choosing the Right Base for Laminate Herringbone
Underlay is mandatory when you lay laminate flooring, especially herringbone where joint support is vital:
- Function: Supports click joints, absorbs sound, provides thermal insulation, smooths minor subfloor imperfections, acts as a moisture barrier (if DPM included).
- Type: Use underlay specifically designed for laminate. Common types are PE Foam (often with foil DPM), Fibreboard (good insulation/levelling), or denser rubber/felt options. Avoid carpet underlay. Aim for 3-5mm thickness.
- DPM: Essential for concrete ground floors – choose underlay with an integrated DPM or lay a separate polythene sheet first.
- UFH: If you have underfloor heating, ensure the underlay has a low Tog rating and is certified compatible.
- Installation: Lay sections butted edge-to-edge (no overlap unless specified), tape seams securely.
How to Lay Herringbone Laminate Flooring: Step-by-Step DIY Guide
(Always prioritise manufacturer instructions! Methods for starting/joining A/B planks can vary slightly.)
- Find Centre & Mark Lines: Accurately find the room’s centre point. Snap perpendicular chalk lines through this point, parallel to the main walls. These are your guides.
- Start the Pattern (Crucial!): Herringbone typically starts at the centre line. Dry lay your first few interlocking A and B planks (if applicable) precisely along the chalk lines to establish the first ‘V’ point(s) facing the direction you want the pattern to run. Ensure it’s perfectly square. Getting this starting point right is critical for the entire floor.
- First Full Planks: Once happy with the dry layout, begin laying properly. Place spacers against walls. Lay the first accurately positioned planks, engaging the click-lock system as per instructions (often angling long edge, lowering, then locking short edge). Use the tapping block and mallet very gently if needed – avoid damaging the HDF edges.
- Build Outwards: Continue adding planks, meticulously following the A/B sequence (if needed) or the pattern logic for universal planks. Build the pattern outwards from the centre lines towards the walls, ensuring each plank clicks securely on all connected sides. Check alignment against chalk lines frequently.
- Maintain Expansion Gaps: Keep the 8-12mm gap around the entire perimeter using spacers. This includes around pipes, door frames, kitchen units etc.
- Stagger Joints: The herringbone pattern inherently creates staggered joints, but ensure pieces are fully locked.
- Cutting Edge Pieces: Measure the gap to the wall accurately (minus expansion gap). Cut planks using a laminate cutter for the cleanest finish or the correct saw technique (decor side down for power saws, up for hand saws). Ensure cuts are straight and precise.
- Obstacles: Undercut door frames to slide planks underneath. Drill/cut carefully around pipes, leaving an expansion gap covered by a rosette.
- Final Rows: Measure and cut the final pieces carefully. Use the pull bar and mallet gently to lock the last row against the spacers.
Finishing Touches: Skirting, Beading, and Thresholds
- Once laid, remove all spacers.
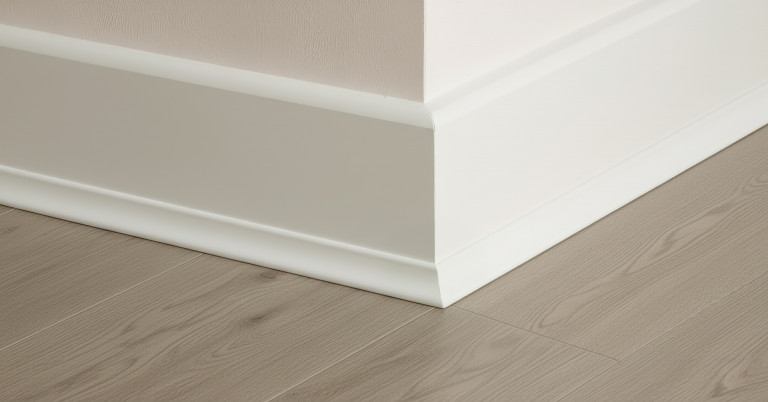
- Install skirting boards or scotia/beading trim around the perimeter, fixing it to the wall/existing skirting, ensuring it covers the expansion gap but doesn’t pin the floor down.
- Fit appropriate threshold bars in doorways, allowing for movement underneath where required.
Keeping it Flawless: Caring for Herringbone Laminate Flooring
Maintenance is key to longevity:
- Sweep or vacuum (soft brush) daily/regularly.
- Wipe spills immediately.
- Damp mop (well wrung-out microfibre mop) weekly or as needed using only water or a pH-neutral, laminate-safe cleaner.
- Never use a steam mop.
- Never wet mop or flood the floor.
- Avoid wax, polish, oil soaps, abrasive cleaners.
- Use felt pads on furniture. Lift, don’t drag.
- Use doormats.
Herringbone Laminate Costs in the UK: A 2025 Overview
- Material: Expect £15 – £30+ per m² for decent quality herringbone laminate. Prices vary by brand, thickness, AC rating, and design. (Source: Checkatrade/Floors Direct/Floor Street data adjusted).
- Underlay: Add £3 – £10 per m².
- Installation Labour (if not DIY): Around £20 – £30+ per m². Herringbone patterns may command slightly higher fitting rates than straight planks due to complexity.
- Total Installed Cost: Significantly lower than engineered or solid wood herringbone. A 19m² living room might range from £900 – £1500+ including basic underlay and fitting, compared to £1800+ for engineered or £2400+ for solid wood equivalents. Always get detailed quotes including subfloor prep.
Is Herringbone Laminate the Smart Choice for You?
Herringbone laminate flooring offers a brilliant way for UK homeowners to achieve an expensive, highly desirable look on a realistic budget. Its click system makes stunning patterns accessible for DIY installation, and its surface is durable enough for everyday family life.
However, its Achilles’ heel is the HDF core’s sensitivity to moisture. It is not suitable for bathrooms and requires vigilance against spills and incorrect cleaning methods in kitchens or entrance halls. If water resistance is paramount, LVT herringbone is a better (though usually more expensive) alternative. When the authentic feel and refinishing potential of real wood are essential, engineered herringbone is the way to go, albeit at a higher cost.
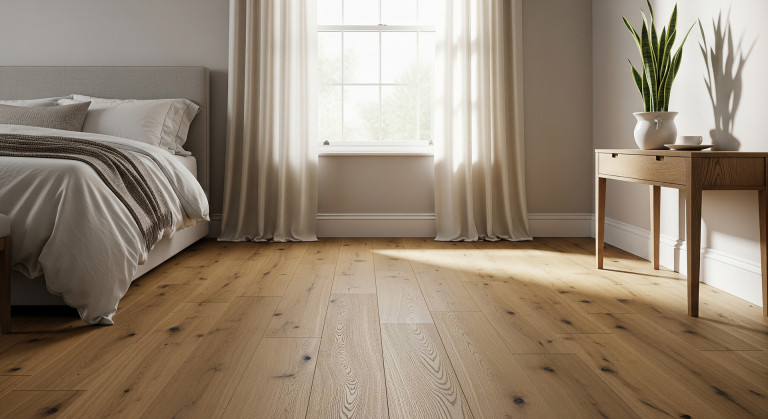
If you desire the iconic herringbone pattern for living rooms, bedrooms, studies, or hallways, understand its limitations regarding moisture, choose a quality product (AC4+, 8mm+), prepare your subfloor meticulously, and follow installation guidance carefully (especially expansion gaps!), then herringbone laminate flooring can be a fantastic and cost-effective choice for transforming your UK home.