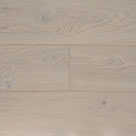
 Light
Light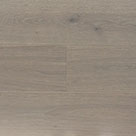 Grey
Grey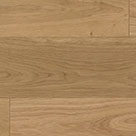 Natural
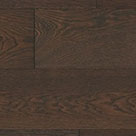 Dark
Dark White
White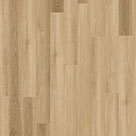 Light
Light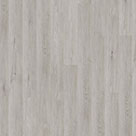 Grey
Grey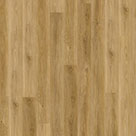 Natural
 Dark
Dark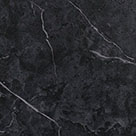 Black
Black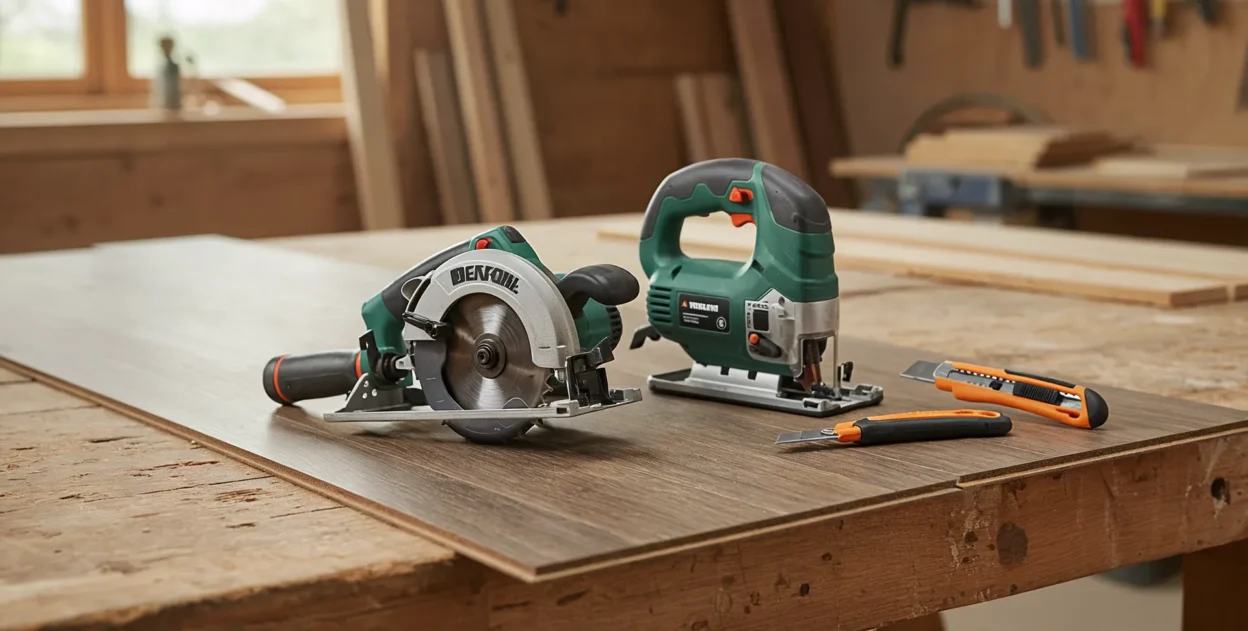
Vinyl click flooring, available as Luxury VinylTile (LVT) and Luxury Vinyl Plank (LVP), is a fantastic choice for UK homes, offering durability, water resistance, and DIY-friendly installation. A key part of achieving that professional, seamless finish lies in mastering how to cut vinyl click flooring accurately and cleanly. Unlike carpet or sheet vinyl, these semi-rigid planks and tiles require precise cuts to fit around walls, obstacles, and create neat transitions.
Whether you’re a seasoned DIYer or tackling your first flooring project, understanding the right tools and techniques for cutting is essential. Poor cuts can lead to visible gaps, damaged locking mechanisms, wasted material, and an unprofessional overall look. This comprehensive UK guide delves into everything you need to know about how to cut vinyl click flooring effectively and safely, covering the best tools for the job, step-by-step methods for different types of cuts, and essential safety precautions.
Jump to Section:
- Why Getting the Cut Right Matters for Your Vinyl Click Floor
- Know Your Material: Vinyl Click Flooring Types (LVT/LVP) & Cutability
- Safety First! Essential Precautions Before Cutting
- The Cutter’s Toolkit: Tools for Cutting Vinyl Click Flooring
- Mastering Straight Cross Cuts (Cutting to Width)
- Tackling Rip Cuts (Cutting Lengthwise) Like a Pro
- Cutting Curves & Notches: Handling Pipes and Awkward Shapes
- Pro Tips for Achieving Perfect Vinyl Click Flooring Cuts
- Troubleshooting: Solving Common Vinyl Cutting Problems
- Beyond the Cut: Integrating Cuts into Your Installation
Why Getting the Cut Right Matters for Your Vinyl Click Floor
Taking the time to learn how to cut vinyl click flooring properly pays dividends:
- Tight Joints: Accurate cuts ensure planks and tiles lock together tightly without gaps, crucial for both appearance and the floor’s integrity (preventing dirt ingress and supporting the locking system).
- Professional Aesthetics: Neat edges against walls, door frames, and obstacles are the hallmark of a well-finished floor.
- Material Efficiency: Precise cuts minimise wasted planks, saving you money and frustration.
- Easier Installation: Well-cut pieces fit correctly first time, making the overall laying process smoother and faster.
- Structural Integrity: Ragged or forced cuts can potentially damage the locking mechanism or the plank itself.
Know Your Material: Vinyl Click Flooring Types (LVT/LVP) & Cutability
Modern vinyl click flooring isn’t like the old flexible vinyl sheets. Understanding its composition helps in choosing cutting methods:
- LVT/LVP Construction: Typically consists of a tough wear layer, a printed design layer, a core layer, and sometimes a backing or built-in underlay.
- Core Types:
– SPC (Stone Plastic Composite) / Rigid Core: Very popular in the UK. Contains limestone powder mixed with PVC, making it dense, rigid, stable, and highly waterproof. Its rigidity means it snaps cleanly when scored correctly but can be harder work with just a utility knife compared to older, more flexible vinyl. Thicker SPC (e.g., 5mm+) requires more effort or power tools. Some sources note SPC can be brittle and crack during complex cuts if not handled carefully.
– WPC (Wood Plastic Composite): Contains wood fibres/flour mixed with PVC and often foaming agents. Generally slightly thicker and less dense than SPC, offering more comfort/sound insulation but potentially slightly less rigidity. Usually cuts fairly easily. - Wear Layer: This top protective layer is tough and designed to resist scratches, meaning your cutting tool needs to be sharp to score through it cleanly.
Always check the manufacturer’s specific recommendations for cutting your chosen product.
Safety First! Essential Precautions Before Cutting
Cutting any material carries risks. Always prioritise safety:
- Eye Protection: Wear safety glasses, especially when using power saws (dust/debris) or snapping planks (potential for flying fragments).
- Gloves: Protect your hands from sharp blades and plank edges.
- Sharp Blades: Use a very sharp utility knife blade. Replace blades frequently as they dull quickly on vinyl wear layers. A dull blade requires more force, increasing the risk of slipping.
- Stable Surface: Cut on a solid, stable surface like a workbench or the floor (using a protective board underneath). Never cut towards yourself.
- Power Tool Safety: Read and follow the manufacturer’s safety instructions for any power tool used. Ensure guards are in place, use appropriate blades, keep hands clear, and disconnect power when changing blades.
- Dust Management: Power saws create fine dust. Wear a dust mask and consider cutting outdoors or using dust extraction if possible.
- Clamping: Securely clamp planks when using jigsaws or circular saws to prevent movement.
The Cutter’s Toolkit: Tools for Cutting Vinyl Click Flooring
You have several options, from basic manual tools to power tools. The best choice depends on the type of cut, the volume of cuts, your budget, and your comfort level.
Utility Knife (Heavy Duty):
- Method: Score & Snap.
- Pros: Inexpensive, readily available, no dust/noise. Good for straight cross cuts on thinner vinyl click.
- Cons: Requires significant effort and multiple passes (3-5+ scores) to score deeply enough, especially on rigid core/SPC. Can be slow for many cuts. Risk of blade slipping. Less accurate for long rip cuts or intricate shapes. Sharp blades are essential.
Vinyl Plank Cutter (Guillotine Style):
- Method: Place plank, pull lever to shear cut.
- Pros: Fast, very clean straight cross cuts, minimal effort, dust-free, quiet. Excellent for repetitive end-of-row cuts. Available for hire in the UK from places like WH Surface Preparation or potentially larger tool hire shops.
- Cons: Higher initial cost (hire is an option), primarily designed for 90° cross cuts (some do angles), not suitable for rip cuts or curves. Check cutting depth capacity for thick planks.
Jigsaw:
- Method: Power tool with reciprocating blade.
- Pros: Highly versatile – cuts straight lines, curves, angles, notches. Essential for cutting around pipes, architraves, and complex shapes.
- Cons: Creates dust. Requires power. Needs the right blade (fine-toothed, often labelled for laminate/plastic, sometimes reverse-pitch to minimise chipping on the top surface – test on an offcut). Needs a steady hand or guide for perfectly straight cuts. Typically cut decor-side down unless using a down-cutting blade.
Mitre Saw / Chop Saw:
- Method: Power saw for cross cuts and angled (mitre) cuts.
- Pros: Extremely fast and accurate for straight and angled cross cuts.
- Cons: Creates significant dust. Expensive. Overkill for simple jobs. Needs a suitable fine-toothed blade (e.g., >80 TPI for plastics/laminates). Less portable.
Circular Saw:
- Method: Power saw primarily for straight cuts.
- Pros: Best power tool for long, straight rip cuts (cutting lengthwise) when used with a straight edge guide. Faster than a utility knife for this.
- Cons: Creates dust. Requires careful setup with a guide for accuracy. Needs appropriate fine-tooth blade. Typically cut decor-side down.
Multi-Tool (Oscillating Tool):
- Method: Power tool with oscillating blade.
- Pros: Excellent for plunge cuts, intricate shapes, undercutting door frames in situ (a major advantage), detailed work around obstacles.
- Cons: Relatively slow for long straight cuts. Creates dust. Needs appropriate wood/plastic cutting blade.
Mastering Straight Cross Cuts (Cutting to Width)
This is the most common cut needed at the end of rows.
Using a Utility Knife (Score & Snap):
- Measure carefully where the cut is needed. Mark the line clearly across the plank face using a pencil and a carpenter’s square.
- Place the square firmly along the line.
- Using a sharp heavy-duty utility knife, score firmly along the line against the square. Apply consistent pressure.
- Repeat the scoring 3-5 times (or more for thick rigid core) in the exact same groove to create a deep score line through the wear layer and into the core.
- Place the plank score-line over a firm edge (like a workbench edge, another plank, or even carefully over your knee – wear protection!).
- Apply firm, quick downward pressure on the overhanging piece. It should snap cleanly along the score line.
- If the backing layer hasn’t fully separated, carefully cut through it with the utility knife.
Using a Vinyl Plank Cutter:
- Measure and mark the plank.
- Position the plank securely in the cutter, aligning the mark precisely with the blade.
- Pull the lever down firmly and smoothly to make the cut.
Using a Mitre Saw or Jigsaw:
- Measure and mark the plank clearly.
- Ensure you have the correct fine-toothed blade installed.
- Clamp the plank securely if using a jigsaw.
- Position the blade carefully on the waste side of your marked line.
- Cut slowly and steadily (decor-side down for jigsaw/circular saw unless using specific down-cut blades; decor-side up often fine for mitre saw but check results on an offcut).
Tackling Rip Cuts (Cutting Lengthwise) Like a Pro
Needed for the last row against a wall or sometimes the first row.
Using a Circular Saw:
- Measure the required width at several points along the length (walls are rarely perfectly straight). Mark the cut line clearly.
- Clamp a long straight edge (metal ruler, level, or dedicated saw guide) securely to the plank along the cut line to guide the saw. Ensure the saw base will run smoothly against it.
- Set the blade depth to just slightly more than the plank thickness.
- Ensure the plank is fully supported on a stable surface (e.g., workbench with sacrificial board underneath).
- Position the saw (decor-side typically down), align the blade just on the waste side of the line, and make a smooth, steady cut following the guide.
Using a Jigsaw:
Possible with a guide clamped to the plank, but maintaining a perfectly straight line over a long distance requires significant care and a steady hand. Cut slowly.
Using a Utility Knife:
Very difficult and time-consuming for long rip cuts, prone to inaccuracy. Not recommended unless absolutely necessary for short sections.
Cutting Curves & Notches: Handling Pipes and Awkward Shapes
Essential for fitting around obstacles.
Using a Jigsaw:
- Mark the required shape accurately. Use a template (cardboard), profile gauge, or compass for curves/circles (like pipes). Remember to allow for the expansion gap around pipes (drill hole ~10-15mm larger than pipe diameter).
- For internal cut-outs, drill a starting hole inside the waste area large enough for the jigsaw blade.
- Clamp the plank securely.
- Insert the blade into the starting hole (if needed) or start from an edge. Cut slowly and carefully along your marked line, guiding the saw smoothly. Fine-toothed blade is essential.
For Pipes: Drill the oversized hole. Then, typically cut a straight line or V-shape from the hole to the nearest edge of the plank. Fit the main piece around the pipe, then glue the small offcut piece back into place behind the pipe. Cover the gap with a pipe rosette/collar.
Using a Multi-Tool:
Excellent for precise cuts, especially plunge cuts or trimming small sections around installed frames. Slower but very controllable.
Using a Utility Knife:
Only feasible for simple straight-line notches by scoring and snapping multiple times. Not suitable for curves.
Pro Tips for Achieving Perfect Vinyl Click Flooring Cuts
- Measure Twice, Cut Once: The oldest rule is the best. Double-check all measurements.
- Sharp Blades are KING: Replace utility knife blades frequently. Use appropriate fine-toothed blades for power saws.
- Support Your Work: Ensure planks are fully supported during cutting and especially snapping.
- Mark Clearly: Use a fine pencil and a reliable square/straight edge.
- Cut on the Waste Side: Position your blade so it cuts into the waste piece, leaving your measured line intact on the piece you’ll use.
- Practice: Make a few test cuts on scrap pieces first to get a feel for the tool and material.
- Consider the Finish: When snapping scored planks, bending towards the back often gives a cleaner break on the top surface.
Troubleshooting: Solving Common Vinyl Cutting Problems
- Ragged/Messy Edges: Usually caused by a blunt utility knife blade or the wrong type/blunt blade on a power saw. Replace blade/use correct blade type.
- Chipping Top Layer (Power Saws): Wrong blade type (needs fine teeth), cutting too fast, plank not clamped securely, or cutting decor-side up with a standard blade (try decor-side down).
- Difficulty Snapping (Score & Snap): Score line not deep enough (score more times!), core material is very thick/rigid (SPC – might need a saw), not snapping sharply enough, plank not supported well near the score line.
- Inaccurate Cuts: Rushing, poor measuring/marking, not using a square/straight edge guide effectively, saw wandering (needs firmer guidance/slower speed).
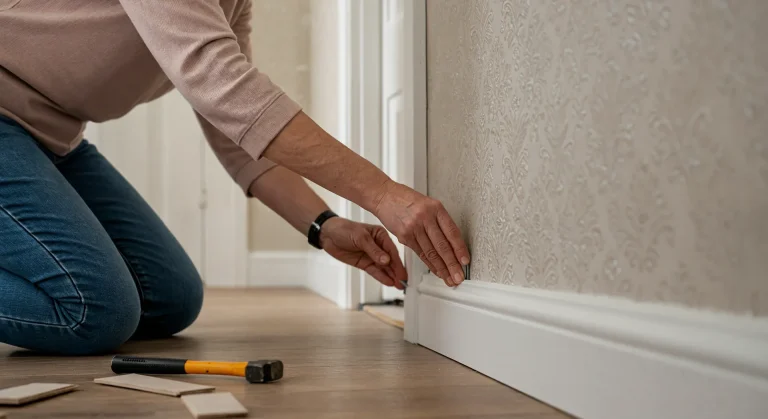
Beyond the Cut: Integrating Cuts into Your Installation
Remember that every cut piece needs to be fitted correctly:
- Ensure cut edges still allow the locking mechanism to engage properly if needed.
- Maintain the required expansion gap around all cut edges that meet walls or fixed objects.
- Fit pieces snugly without forcing.
- Clean any dust/debris from cuts before clicking planks together.
Conclusion
Learning how to cut vinyl click flooring cleanly and accurately is a fundamental skill for achieving a professional-looking DIY installation. While the score-and-snap method with a sharp utility knife is suitable for many straight cuts, especially on thinner LVT/LVP, investing in or hiring a dedicated vinyl plank cutter can save significant time and effort for larger projects. For curves, notches, and potentially long rip cuts, a jigsaw or circular saw with the correct fine-toothed blade becomes invaluable.
Always prioritise safety by wearing appropriate PPE and using tools correctly. Take your time, measure meticulously, use sharp blades, support your workpiece, and practice on offcuts. With these cutting techniques mastered, you’ll ensure your new vinyl click flooring installation looks sharp, professional, and stands the test of time in your UK home.