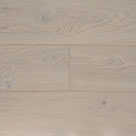
 Light
Light Grey
Grey Natural
 Dark
Dark White
White Light
Light Grey
Grey Natural
 Dark
Dark Black
Black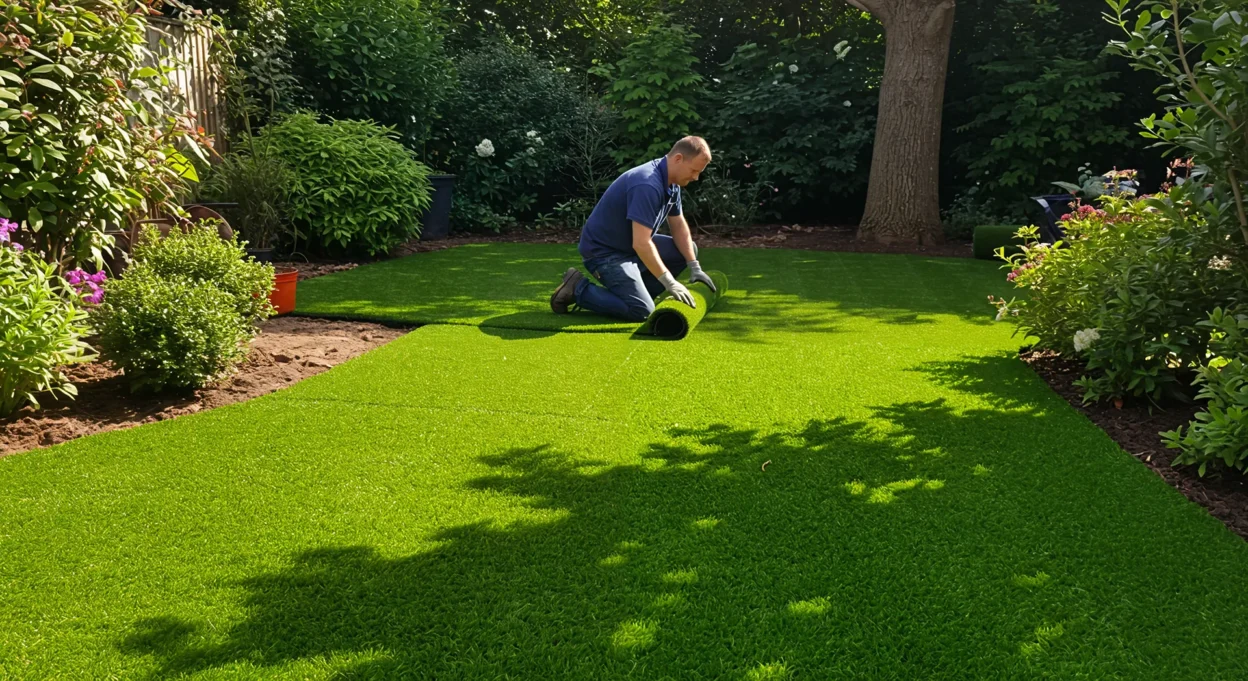
The dream of a perfect, lush green lawn that looks immaculate all year round, without the endless mowing, weeding, and mud, is a reality for many UK homeowners thanks to artificial grass. Learning how to lay artificial grass – often known colloquially as fake grass or by the famous brand name AstroTurf – is a highly achievable and rewarding DIY project. It can completely transform your garden, patio, or balcony into a beautiful, low-maintenance, and usable space for the whole family.
While the prospect might seem daunting, a successful installation comes down to one thing: meticulous preparation. This comprehensive, step-by-step UK guide for 2025 will walk you through the entire process, covering everything from laying artificial grass on a traditional soil base to the specific techniques for how to lay artificial grass on concrete. Follow these steps carefully, and you’ll have a perfect lawn that’s the envy of your neighbours for years to come.
Jump to Section:
- Preparation is Everything: The Key to a Perfect Artificial Lawn
- Your Toolkit: Essential Tools & Materials for Laying Fake Grass
- Part 1: How to Lay Artificial Grass on Soil (The Full Groundwork Method)
- Part 2: How to Lay Artificial Grass on Concrete or Patios
- DIY Disasters: Common Mistakes When Installing Artificial Grass
- The Finishing Touch: Initial Care for Your New Lawn
Preparation is Everything: The Key to a Perfect Artificial Lawn
It cannot be stressed enough: the success of your fake grass installation is 90% dependent on the quality of the groundwork beneath it. A properly prepared sub-base provides the stability, durability, and crucial drainage needed for a long-lasting, lump-free lawn. Skimping on this stage will result in a lawn that sinks, develops bumps, drains poorly, and looks unprofessional. Taking the time to do the prep work right is the most important investment you’ll make.
Your Toolkit: Essential Tools & Materials for Laying Fake Grass
Gather everything you need before you start. For larger UK gardens, consider hiring some of the heavier equipment.
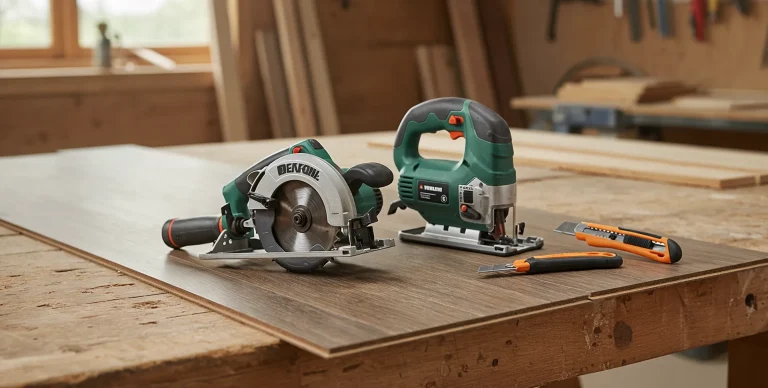
Tools:
- Spade and Shovel
- Wheelbarrow
- Turf Cutter (optional, but highly recommended for hire)
- Rake
- Tape Measure
- Sharp Utility Knife (with plenty of spare blades)
- Hammer and Saw (for timber edging)
- Spirit Level and String Line
- Long, straight piece of timber (for screeding sand)
- Wacker Plate / Compactor (highly recommended for hire for compacting sub-base)
- Stiff-bristled Broom or Power Brush
- Gloves and Safety Glasses
- For Concrete: Pressure Washer, Masonry Drill with large bit.
Materials:
- Your chosen Artificial Grass
- Geotextile Weed Membrane
- Sub-base material: MOT Type 1 aggregate or similar hardcore
- Levelling layer material: Sharp sand or granite dust (6mm to dust)
- Edging: Treated timber or specialist composite/metal edging
- Fixings: 4-inch galvanised nails or screws, landscaping ground pins/pegs
- Seaming materials: Artificial grass joining tape and specialist adhesive
- Infill: Kiln-dried sand
- For Concrete: Shock pad underlay (recommended), specialist adhesive.
Part 1: How to Lay Artificial Grass on Soil (The Full Groundwork Method)
This is the most common installation, replacing an existing lawn with a new, pristine artificial one.
Step 1: Mark Out and Excavate the Area
Mark out the desired area. Begin to excavate the existing turf and soil using a spade or a hired turf cutter. You need to dig down to a depth of approximately 75mm – 100mm (3-4 inches) from your desired finished lawn height to make room for the sub-base.
Step 2: Install a Solid Edging
Installing a perimeter edging is highly recommended. It creates a solid border, contains the aggregate base, and provides a secure frame to fix the grass to. Fix treated timber battens in place around the perimeter using wooden stakes. Ensure the top of the edging is at the correct desired height.
Step 3: Lay the First Weed Membrane
Lay a geotextile weed membrane over the entire soil base. This prevents deep-rooted weeds from growing through and separates your sub-base from the soil below, improving stability. Overlap any seams by at least 100mm.
Step 4: Build and Compact Your Sub-Base
This layer provides a stable, free-draining foundation, crucial for UK weather. Spread your sub-base material (MOT Type 1) evenly to a depth of 50-75mm (2-3 inches). Rake it level, then compact it thoroughly using a hired wacker plate until it is solid and unmoving underfoot.
Step 5: Create the Perfect Levelling Layer
Spread sharp sand or granite dust on top of the compacted sub-base to a depth of around 20-25mm (approx. 1 inch). Rake this out evenly. Using a long, straight piece of timber, “screed” the sand by dragging it across the surface to create a perfectly smooth, flat, and level finish. Lightly compact this sand layer once screeded.
Step 6: Roll Out and Position the Grass
Carefully roll out your artificial grass over the prepared base.
Crucial Point – Pile Direction: All fake grass has a pile direction. Ensure all your pieces are laid with the pile facing the same way. The best look is usually achieved when the pile leans towards your house or main viewing point. Let the grass settle for a few hours (or up to 24) to allow creases to drop out.
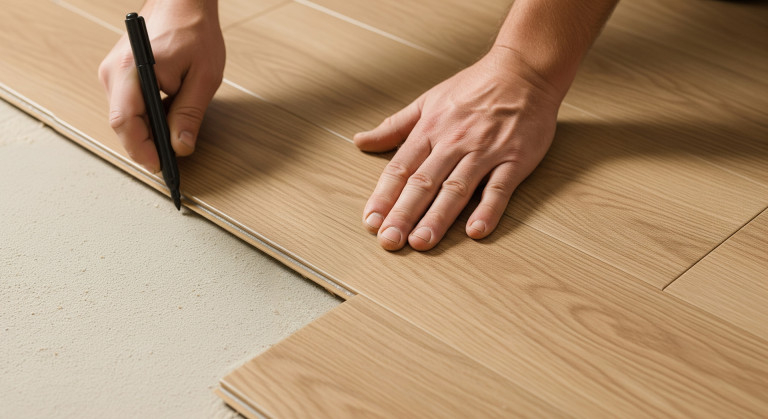
Step 7: Master the Art of Cutting and Trimming
This requires a sharp blade and patience. Always cut from the back of the grass matting. Use a very sharp utility knife, changing the blade frequently. Make smaller, careful cuts to trim the grass neatly so it fits snugly against your edging.
Step 8: Creating Invisible Seams (Joining Rolls)
If you need to join two pieces, ensure the pile direction is identical. Fold back the edges, lay joining tape (fabric side up) underneath the join, apply specialist adhesive in a zigzag pattern, and carefully bring the edges back together. Press firmly and ruffle the pile to hide the seam.
Step 9: Secure the Perimeter
To prevent edges lifting, fix the grass around the perimeter. Nail into the timber edging with 4-inch galvanised nails every 150-200mm (6-8 inches).
Step 10: Brush and Apply Sand Infill
The final step in laying artificial grass on soil is the infill. Use a stiff broom to brush the pile up against its natural lean. Then, evenly spread kiln-dried sand over the entire surface (check manufacturer’s guide for amount, e.g., 4-6kg per m²) and brush it down into the base of the pile. This weighs the lawn down, keeps it stable, and helps the fibres stand upright.
Part 2: How to Lay Artificial Grass on Concrete or Patios
Learning how to lay artificial grass on concrete follows a different, often simpler, process as the solid base already exists.
Step 1: Assess and Prepare the Concrete Surface
The concrete or patio slabs must be structurally sound and clean. Remove all dirt, moss, and loose debris, ideally with a pressure washer. Fill any significant cracks or holes with a suitable patching compound and allow it to dry.
Step 2: Ensure Adequate Drainage
This is the most critical step for a concrete base. Check if the patio has a natural fall that allows water to run off. If it holds water in puddles, you must create drainage. This is typically done by drilling drainage holes (e.g., 16mm wide) every 15-20cm through the concrete in the problem areas, then filling them with fine shingle.
Step 3: Install a Shock Pad Underlay (Highly Recommended)
Laying fake grass directly on concrete can feel very hard. It’s highly recommended to first lay a specialist artificial grass shock pad (typically 10-20mm thick). This provides essential cushioning for comfort and safety, helps disguise minor surface imperfections in the concrete, and can aid drainage. The shock pad is usually glued to the clean concrete.
Step 4: Glue Down and Secure Your Fake Grass
The most common method for how to lay Astro Turf on concrete is to fully adhere it.
- Roll out, position, and trim your grass as described previously.
- Fold back half of the grass roll. Apply a specialist artificial grass adhesive to the shock pad or concrete using a notched trowel.
- Carefully roll the grass back onto the wet adhesive, smoothing it down to remove air bubbles.
- Repeat for the other half.
- It’s vital to ensure a strong bond around the entire perimeter.
- Finally, apply the kiln-dried sand infill and brush it in, just as you would for a soil installation.
DIY Disasters: Common Mistakes When Installing Artificial Grass
- Bad Sub-Base: Skimping on depth or compaction on a soil base will lead to sinking and lumps.
- Poor Drainage: Not addressing drainage on a concrete base will lead to a smelly, waterlogged surface.
- Incorrect Pile Direction: Creates a jarring, patchwork look.
- Visible Seams: A clear giveaway of a rushed job.
- Not Using Weed Membrane: Allows weeds to grow through your sub-base.
- Insufficient Fixing: Edges lifting up over time.
The Finishing Touch: Initial Care for Your New Lawn
Once your artificial grass installation is complete, give the lawn a final brush to even out the sand infill. You can lightly hose it down to help the sand settle. Then, simply step back and enjoy your perfect, low-maintenance green space.
Conclusion
Whether you call it artificial grass, fake grass, or AstroTurf, learning how to lay it properly is key to a fantastic result. The process, especially on soil, is labour-intensive, but the rewards are immense. For those wondering how to lay artificial grass on concrete, the principles of drainage and a secure bond are paramount. By following the correct steps, preparing your base meticulously, and taking your time, you can achieve a stunning, durable, and practical lawn that is perfect for the demands of modern UK living, providing a year-round usable space for relaxation and play.