 Light
Light Grey
Grey Natural
 Dark
Dark White
White Light
Light Grey
Grey Natural
 Dark
Dark Black
Black
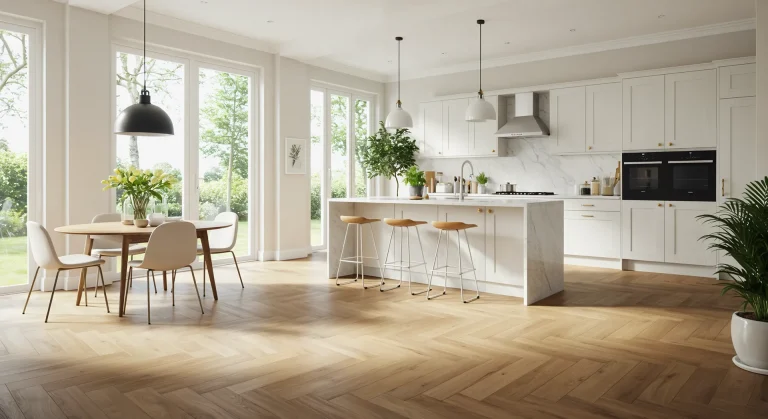
Laying a new floor is one of the most satisfying DIY projects you can undertake, and laminate flooring makes it accessible to almost anyone. However, there is one hurdle that often intimidates beginners: cutting the planks. Whether it’s shortening a board to finish a row, ripping a plank lengthwise to fit the final wall, or navigating tricky radiator pipes, knowing how to cut laminate flooring correctly is the difference between a jagged, amateurish job and a sleek, professional finish.
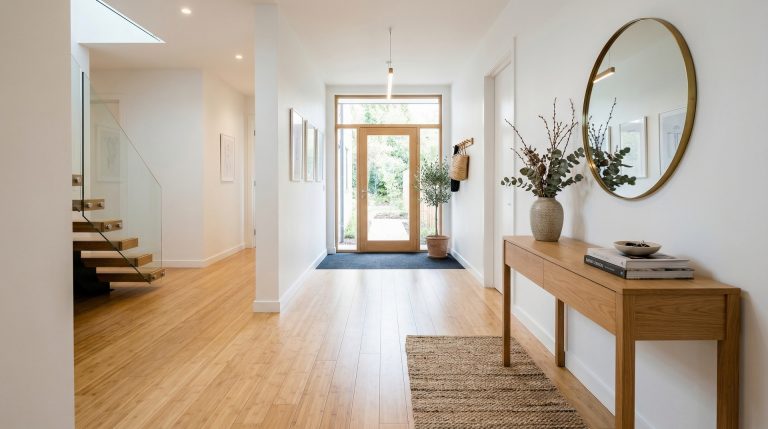
The good news is that you don’t need a van full of expensive trade tools to get great results. With the right technique and a bit of patience, you can achieve clean, chip-free cuts every time. This ultimate guide will walk you through the essential tools, the best cutting methods for different scenarios, and the trade secrets to avoiding waste and ruin.
Jump to Section:
- Why the Cut Matters: avoiding Waste and Frustration
- Your Cutting Toolkit: Choosing the Right Saw for the Job
- The Golden Rules: Preparation Before You Cut
- How to Make Straight Cross Cuts (Shortening Planks)
- How to Make Rip Cuts (Narrowing Planks Lengthwise)
- Cutting Around Obstacles: Pipes and Door Frames
- Preventing Chipping: Which Way Up?
- Safety First: Dust and Protection
Why the Cut Matters: Avoiding Waste and Frustration
Laminate flooring is composed of a high-density fibreboard (HDF) core topped with a hard wear layer. This makes it durable, but it can also make it brittle to cut if approached incorrectly. A bad cut can chip the decorative surface, leaving an ugly white edge that is visible even after the beading is installed. Furthermore, poor measuring leads to wasted planks, which can leave you short of material right at the end of the job. Mastering the cut saves you money, time, and stress.
Your Cutting Toolkit: Choosing the Right Saw for the Job
You don’t need all of these, but having the right tool for the specific type of cut helps immensely.
- Laminate Cutter (Guillotine): The DIYer’s best friend. It uses a heavy blade to shear through the plank. It’s fast, silent, and creates zero dust. Perfect for straight cross-cuts but cannot do shapes or long rip cuts.
- Jigsaw: The most versatile tool. Essential for cutting curves, notches around door frames, and holes for pipes. With a fine-toothed laminate blade, it can handle almost any cut.
- Hand Saw: A fine-toothed wood saw is perfectly capable of cutting laminate, though it requires more physical effort. Great for undercutting door frames.
- Mitre Saw (Chop Saw): Excellent for speed and precision on cross-cuts and angles, but creates a lot of dust.
- Circular Saw: The best choice for long, straight “rip” cuts down the length of a plank.
The Golden Rules: Preparation Before You Cut
Before you make your first mark, keep these three rules in mind:
- Measure Twice, Cut Once: It’s a cliché for a reason. Always double-check your measurement before taking the saw to the wood.
- Account for the Expansion Gap: Laminate flooring expands and contracts. You must subtract 10mm from your measurement to allow for the expansion gap at the wall. If the space is 500mm, cut your plank to 490mm.
- Check Your Blade: A dull blade will tear the laminate surface. Use a fresh, sharp blade designed for laminate or fine woodwork.
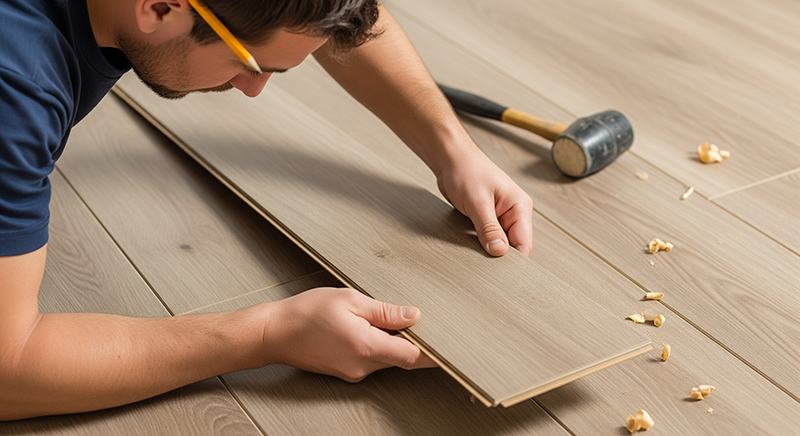
How to Make Straight Cross Cuts (Shortening Planks)
This is the most common cut you will make, usually at the end of every row.
- Measure: Flip the plank around so the groove edge is facing the wall (with a spacer in between). Mark the cutting line on the back of the plank.
- Square it Off: Use a combination square to draw a straight line across the width of the plank.
- The Cut:
– If using a Jigsaw or Circular Saw: Cut with the decorative side facing down. The saw teeth cut on the upstroke, so this prevents chipping the visible face.
– If using a Hand Saw or Mitre Saw: Cut with the decorative side facing up.
– If using a Laminate Cutter: Place the plank face up and pull the handle down firmly.
How to Make Rip Cuts (Narrowing Planks Lengthwise)
You will almost certainly need to do this for the final row of the room, as it’s rare for a room to be an exact number of planks wide.
- Measure the Gap: Measure the distance from the wall to the edge of the last laid row at several points (walls are rarely straight). Subtract your 10mm expansion gap from these measurements.
- Mark the Plank: Transfer these measurements to the plank you need to cut. Draw a cutting line connecting your marks.
- The Cut: A table saw or circular saw with a guide is best for this long straight cut. However, a jigsaw can be used if you have a steady hand. If using a jigsaw, cut slowly to avoid the blade wandering.
Cutting Around Obstacles: Pipes and Door Frames
This is where many DIYers get stuck, but the techniques are straightforward.
For Radiator Pipes:
- Measure: Mark the exact centre position of the pipe on your plank (both length and width).
- Drill: Use a flat wood bit or hole saw that is roughly 10mm larger than the pipe diameter (to allow for expansion). Drill a hole through the plank at your marked point.
- Cut: Draw two angled lines from the sides of the hole to the edge of the plank (creating a wedge shape). Cut along these lines with a jigsaw to release the wedge.
- Fit: Slide the plank into place around the pipe. Glue the wedge piece back in place behind the pipe. The cut will be hidden by a radiator pipe rosette.
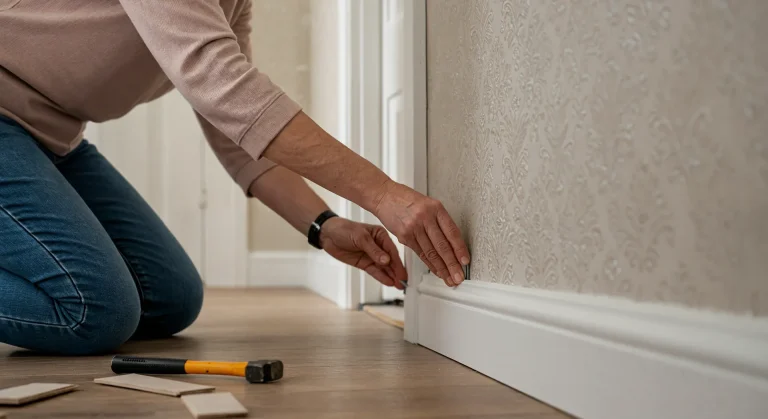
For Door Frames (Architrave):
Don’t try to cut the laminate to the shape of the door frame—it never looks neat. Instead, undercut the frame.
- Position: Lay a scrap piece of laminate and underlay next to the door frame.
- Saw: Rest a hand saw flat on top of the scrap pieces. Saw into the bottom of the wooden door frame.
- Fit: Remove the debris. Your new laminate plank will now slide neatly underneath the door frame for a perfect, professional finish without any visible gaps.
Preventing Chipping: Which Way Up?
The secret to learning how to cut laminate flooring without chipping the surface lies in the direction of the saw teeth.
- Teeth cutting UP (Jigsaws): The blade cuts as it pulls up towards the tool. To stop the decorative surface from chipping, place the plank face down.
- Teeth cutting DOWN (Hand saws, some circular saws): The cutting action pushes down. Place the plank face up.
- Pro Tip: If you are struggling with chips, apply a strip of masking tape along the cutting line. Mark your line on the tape and cut through it. The tape helps hold the laminate surface together during the cut.
Safety First: Dust and Protection
Cutting laminate produces fine dust that can be harmful if inhaled.
- Wear a Dust Mask: Ideally, an FFP2 or FFP3 mask.
- Eye Protection: Safety goggles are essential to protect against flying chips.
- Ventilation: If possible, do your cutting outside. If cutting inside, open windows and keep the door to the rest of the house closed.