If you’re undertaking a new build, extension, or replacing an old floor in your home, you’ll almost certainly be working with chipboard flooring. It is the standard, cost-effective, and reliable material used to create a strong, stable subfloor over wooden joists. While it might seem like a job reserved for the professionals, learning how to lay chipboard flooring is an incredibly rewarding and achievable DIY task for a beginner.
This guide will demystify the process. We’ll explain what chipboard flooring is, why it’s so popular, and provide a clear, step-by-step guide for beginners. Following these instructions will help you create a solid, level, and squeak-free subfloor that’s perfectly prepared for any final floor covering you choose.
Jump to Section:
- What is Chipboard Flooring?
- Why Choose Chipboard Flooring for Your Project?
- Tools & Materials You Will Need
- Preparation: The Key to a Solid Floor
- How to Lay Chipboard Flooring: Step-by-Step Guide
- Common Mistakes When Laying Chipboard Flooring
- Finishing and Protecting Your New Chipboard Floor
What is Chipboard Flooring?
Chipboard flooring, sometimes called particleboard, is an engineered wood product. It’s manufactured by compressing wood chips, particles, and sawdust with a strong resin adhesive under high heat and pressure. This process creates dense, strong, and relatively inexpensive sheets.
For flooring applications in the UK, you won’t use standard chipboard. You must use P5 grade chipboard, which is a moisture-resistant grade. It is almost always supplied with Tongue and Groove (T&G) edges. This T&G system is what makes it perfect for flooring, as the boards lock together to create a single, strong, and seamless surface over your joists.
Why Choose Chipboard Flooring for Your Project?
There’s a reason chipboard flooring is the industry standard in the UK:
- Cost-Effective: It is significantly cheaper than plywood, its main alternative.
- Strong & Stable: When the correct thickness is used for the joist spacing, it creates an exceptionally strong and solid subfloor.
- Easy to Lay: The tongue and groove system makes it relatively simple for a DIYer to lock the boards together and achieve a level finish.
- Smooth Surface: It provides a clean, smooth, and flat surface that is ideal for laying any final floor covering, such as LVT, laminate, vinyl, or carpet.
- Eco-Friendly: It is often made from recycled wood particles and offcuts, making it a sustainable choice.
Tools & Materials You Will Need
Having the right gear ready will make the job much faster and easier.
Tools:
- Safety Goggles & Dust Mask (cutting chipboard creates fine dust)
- Knee Pads
- Tape Measure
- Pencil
- Spirit Level (a long one is best)
- Chalk Line
- Circular Saw (best for long, straight cuts) or a Jigsaw (good for cutting around pipes)
- Drill/Driver with Pozi-drive bit
- Wood Drill Bit (for pre-drilling screw holes if needed)
Materials:
- Chipboard Flooring (P5 Grade, T&G).
- Chipboard Screws: Specialist screws designed for this job. They are typically 4.5mm x 50mm or 60mm.
- Wood Adhesive: A D3 or D4 grade PVA wood adhesive is essential for gluing the T&G joints.
- Spacers: 10mm spacers (wood offcuts are fine).
- (Optional) Joist Tape: A self-adhesive foam tape that can be applied to the top of joists to help prevent squeaks.
Preparation: The Key to a Solid Floor
Do not skip these steps. A poor foundation will result in a squeaky, uneven floor.
- Acclimatise Your Boards: Chipboard flooring must get used to the room’s environment. Lay the boards flat in the room where they will be installed for at least 48 hours before fitting.
- Check Joist Spacing (CRITICAL): This is the most important check. The required thickness of your chipboard flooring depends on the distance between the centres of your joists.
– 18mm Chipboard: Use for joists spaced up to 450mm (18 inches) apart.
– 22mm Chipboard: Use for joists spaced up to 600mm (24 inches) apart.
– Using 18mm board on 600mm joists will result in a bouncy, weak, and unsafe floor. - Inspect Joists: Ensure all joists are clean, dry, and structurally sound. Replace any rotten or damaged joists. Use your spirit level to check they are level, and plane down any high spots.
- (Optional) Apply Joist Tape: For the best possible squeak prevention, apply self-adhesive joist tape along the top edge of every joist where the chipboard will sit.
- Plan Your Layout:
– Chipboard flooring must be laid perpendicular (at a 90-degree angle) to the joists.
– You must stagger the joints. This means the short-end joins of one row should never line up with the joins of the row next to it. This is essential for the floor’s strength. Plan to start your second row with the offcut from the first row (if it’s a reasonable length).
How to Lay Chipboard Flooring: Step-by-Step Guide
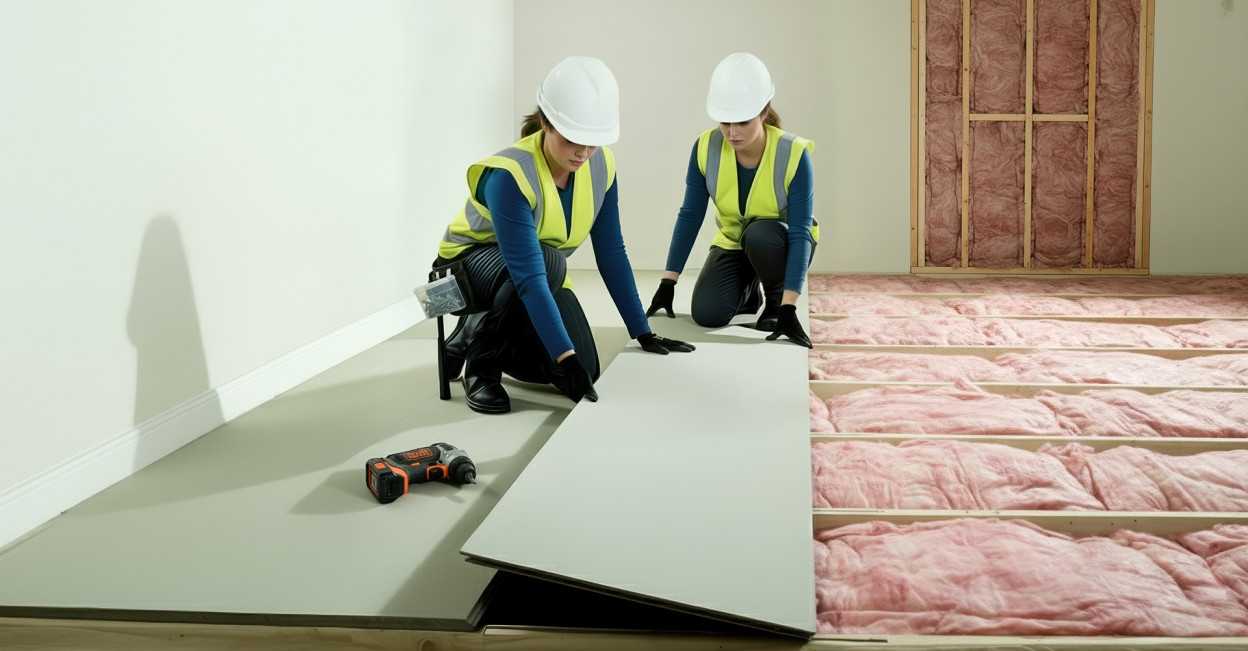
Step 1: Mark Your Joist Centres Find the centre of each joist and mark its position on the wall at either end of the room. Snap a chalk line across the tops of the joists to create a clear guide. This shows you exactly where to put your screws.
Step 2: Lay the First Board Start in the corner of the room, laying your first board across the joists. The “groove” edge should face the two starting walls, and the “tongue” edge should face out into the room.
Step 3: Create the Expansion Gap This is a vital step for any wood-based flooring. Place 10mm spacers between the board and the two starting walls. This leaves a gap for the floor to naturally expand and contract with changes in temperature and humidity, preventing it from buckling.
Step 4: Secure the First Board Fix the board to every joist it crosses using your chipboard screws. Screws are much better than nails as they pull the board down tight and are less likely to work loose and cause squeaks.
- Place screws about 30mm in from the edge of the board.
- Screw down into every joist, with screws spaced about 150-200mm apart along the joist line.
- Ensure the screw heads finish flush with (or very slightly below) the surface of the board.
Step 5: Apply Adhesive to the Joint Run a continuous, generous bead of D3/D4 wood adhesive along the “groove” on the short end of the board you just laid.
Step 6: Fit the Next Board in the Row Take your second board and slot its “tongue” into the adhesive-filled “groove” of the first board. Push it in tight. To get a snug fit, place an offcut of chipboard against the groove edge of the new board and tap it firmly with a hammer. Secure this second board to the joists with screws as before.
Step 7: Start the Second Row (Staggering) Cut a new board to start the second row. To ensure the joints are staggered, this board should be roughly half the length of the first board. This means your end-joins will be in the middle of the boards in the first row.
Step 8: Apply Adhesive (Joists & T&G) For the ultimate squeak-free floor, run a bead of adhesive along the top of the joists where this new row will sit. Also, run a bead of adhesive along the long “groove” edge of the entire first row.
Step 9: Fit the Second Row Place the first board of your second row, fitting its long “tongue” edge into the groove of the first row. Tap it into place using your hammer and offcut for a tight joint. Screw it down into the joists.
Step 10: Complete the Floor Continue this process across the room:
- Always apply adhesive to the tops of the joists.
- Always apply adhesive to all T&G grooves (both long and short ends) before joining the next board.
- Ensure all joints are staggered (no joins should line up).
- Screw every board down securely into every joist it crosses.
- Maintain your 10mm expansion gap around the entire room.
Step 11: Cut the Final Row When you reach the far wall, measure the gap for the final row (remembering to subtract 10mm for the expansion gap). Cut this row to width using your circular saw and fit it into place, securing it with screws.
Common Mistakes When Laying Chipboard Flooring
- Forgetting the 10mm Expansion Gap: This is the most common error and will cause your floor to buckle and squeak as the seasons change.
- Not Using Adhesive in T&G Joints: This is the primary cause of squeaky floors. The adhesive locks the boards into a single, solid sheet.
- Wrong Thickness: Using 18mm chipboard on 600mm joist centres will create a weak, bouncy floor.
- Not Staggering Joints: This creates a ‘grid’ pattern that is structurally weak and will fail over time.
- Not Cleaning the Joists: Debris on the joists will create high spots and lead to squeaks.
Finishing and Protecting Your New Chipboard Floor
Once laid, your chipboard flooring is not a final decorative surface. It is a subfloor, meaning it’s the structural base for your final floor.
Sweep or vacuum the entire surface to remove all dust. You now have the perfect, solid, and stable foundation on which to lay any floor covering you choose, whether that’s carpet, laminate, or luxury vinyl tiles (LVT). If the floor is going to be exposed to building work (plastering, painting) for some time, it’s a good idea to protect it from water and plaster splashes with temporary plastic sheeting.

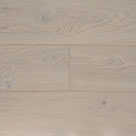 Light
Light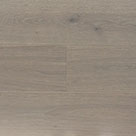 Grey
Grey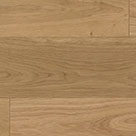 Natural
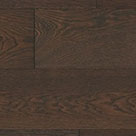 Dark
Dark White
White Light
Light Grey
Grey Natural
 Dark
Dark Black
Black