 Light
Light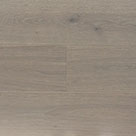 Grey
Grey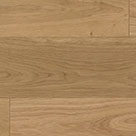 Natural
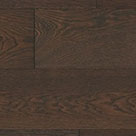 Dark
Dark White
White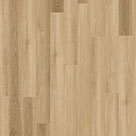 Light
Light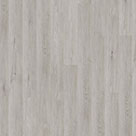 Grey
Grey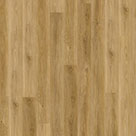 Natural
 Dark
Dark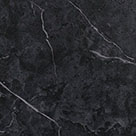 Black
Black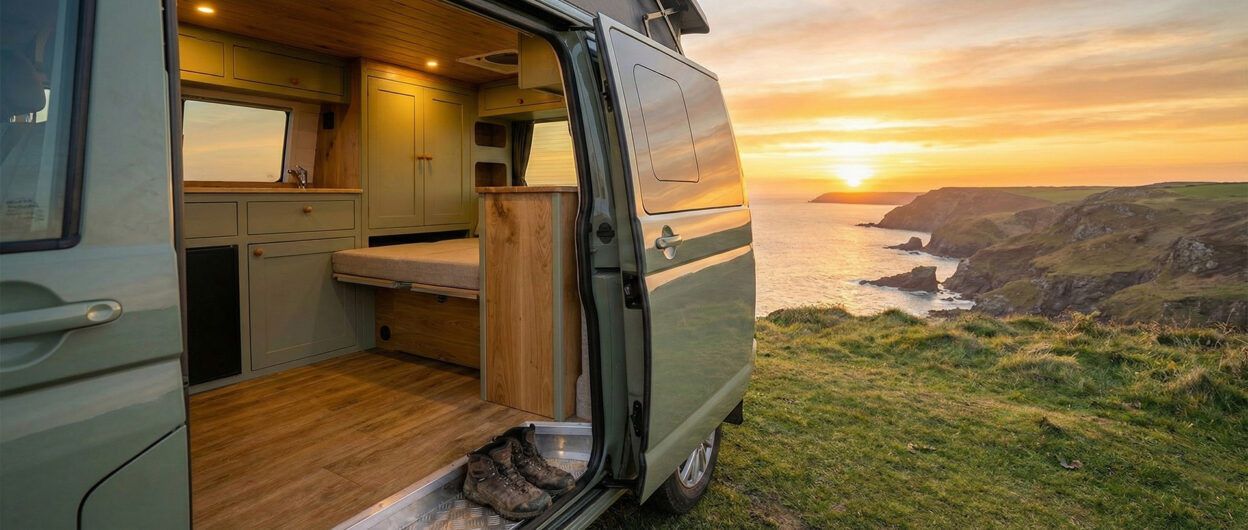
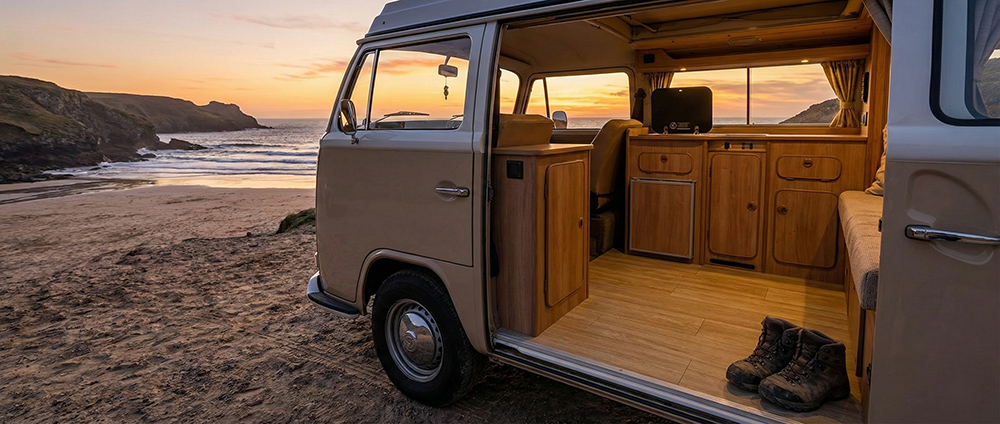
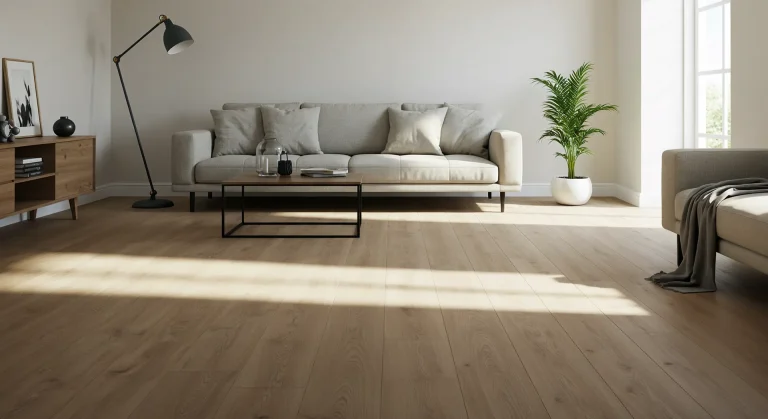
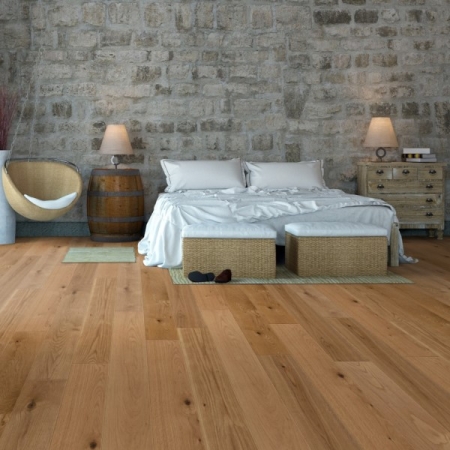
When converting a van into a home on wheels, every decision counts. Space is tight, weight is critical, and durability is non-negotiable. But perhaps no element takes more punishment than the campervan flooring. It has to withstand muddy hiking boots, sandy paws, spilled coffee on bumpy roads, and extreme temperature fluctuations—all while looking like a stylish, high-end apartment.
For years, self-builders and professional converters in the UK relied on cheap sheet vinyl or heavy carpet. However, in 2025, there is a superior standard emerging: Click Vinyl Flooring (LVT). Specifically, Rigid Core (SPC) click vinyl has revolutionised van builds, offering a blend of robustness, waterproofing, and stunning aesthetics that other materials simply cannot match.
This guide is your roadmap to the perfect van floor. We will explore why click vinyl is the ultimate campervan flooring solution, how it compares to the old-school alternatives, and provide a detailed, step-by-step guide on how to fit it in your van for a flawless, professional finish.
Jump to Section:
- Why Standard Campervan Flooring Options Fail
- The Game Changer: Rigid Core Click Vinyl (SPC) Explained
- Click Vinyl vs. Sheet Vinyl & Carpet: The Showdown
- Essential Prep: Subfloors and Insulation for Vans
- Step-by-Step Guide: Fitting Click Vinyl Campervan Flooring
- Handling the Curves: Scribing and Cutting Campervan Flooring
- Finishing Touches: Edging and Trims for a Pro Look
- Maintenance on the Move: Caring for Your Campervan Flooring
- Is Click Vinyl the Right Choice for Your Build?
Why Standard Campervan Flooring Options Fail
A campervan is a unique environment. It’s a metal box that vibrates, flexes, gets freezing cold in winter, and acts like a greenhouse in summer. Standard home flooring often fails here:
- Laminate: The HDF core absorbs moisture from condensation and wet gear, leading to swelling and blown joints. It can also be noisy on the road.
- Real Wood: Heavy and prone to warping or cracking with the extreme temperature and humidity shifts found in a vehicle.
- Carpet: A nightmare for cleaning mud and sand, and it traps moisture which can rust the van floor.
You need a campervan flooring solution that is stable, waterproof, lightweight, and tough.
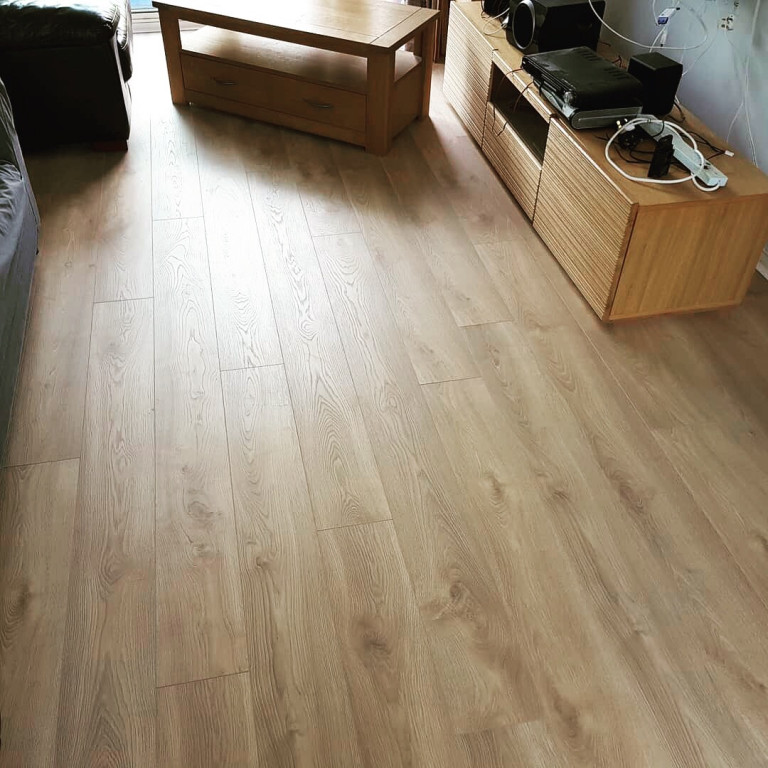
The Game Changer: Rigid Core Click Vinyl (SPC) Explained
This is where Rigid Core Luxury Vinyl Tile (SPC) shines as the premier choice for campervan flooring. Unlike older, flexible vinyl, SPC (Stone Plastic Composite) has a core made from limestone powder and stabilisers.
- Temperature Stability: This is the big one for vans. SPC is incredibly stable and expands/contracts significantly less than standard vinyl or wood when the van heats up in the sun or cools down at night. This prevents gaps opening up or the floor buckling.
- 100% Waterproof: Spill a drink or track in snow? No problem. It won’t swell or rot.
- Ultra-Durable: The commercial-grade wear layer resists scratches from stones trapped in shoes or dog claws.
- Thin & Lightweight: At typically 4-5mm thick, it doesn’t eat into your precious headroom, yet it’s solid enough to bridge minor subfloor imperfections.
Click Vinyl vs. Sheet Vinyl & Carpet: The Showdown
| Feature | Click Vinyl (SPC) | Sheet Vinyl | Carpet |
| Durability | High. Resistant to tears & dents. | Medium. Can tear if equipment drags. | Low. Wears quickly in high traffic. |
| Waterproof | Yes. 100%. | Yes. Surface is, but edges can lift. | No. Traps moisture & smells. |
| Installation | DIY Friendly. Click-lock system. | Tricky. Cutting one huge sheet in a small space is hard. | Easy. Glue or spray adhesive. |
| Aesthetics | Premium. Realistic wood planks/stone tiles. | Functional. Can look “plasticky.” | Cozy. But hard to keep clean. |
| Repairs | Possible. Unclick and replace a plank. | Difficult. Patching looks obvious. | Impossible. Stains are often permanent. |
Essential Prep: Subfloors and Insulation for Vans
You cannot lay campervan flooring directly onto the metal ribs of a van floor. You need a solid, flat subfloor to provide a stable base for the vinyl.
- Rust Treatment & Sound Deadening: Treat any rust spots on the metal floor. Apply sound deadening mats to the metal to reduce road noise and vibration.
- The Ply Subfloor: Screw a layer of plywood (typically 9mm or 12mm) directly to the raised metal floor ribs or bond it securely using a high-strength adhesive (like Sikaflex). This provides the essential flat surface needed for the vinyl without sacrificing valuable headroom. Crucially, ensure the plywood is secure and flat, and that all screw heads are countersunk so they don’t protrude and damage the vinyl above.
- Clean: Vacuum the plywood thoroughly. Any grit left underneath will crunch when you walk on your new floor!
Step-by-Step Guide: Fitting Click Vinyl Campervan Flooring
Fitting campervan flooring in a confined space requires patience.
Step 1: Plan Your Layout Decide which way the planks will run. Running them lengthways (front to back) usually makes the van feel longer and involves fewer cuts. Calculate your width so you don’t end up with a tiny, sliver of plank at one side.
Step 2: Acclimatise Ideally, leave the boxes of flooring in the van for 24 hours before fitting so they adjust to the ambient temperature.
Step 3: The First Row Start along the straightest edge (usually the bulkhead or a fitted unit). Use spacers to leave a small expansion gap (approx 5mm) from the wall or unit. Click the ends of the first row planks together.
Step 4: The Stagger Cut the last plank of the first row to fit. Use the offcut to start the second row (if it’s at least 20cm long). This creates a natural, staggered “brick bond” pattern which looks better and is structurally stronger.
Step 5: Clicking it Together Angle the long edge of the new plank into the previous row and click it down. Use a tapping block and rubber mallet to gently ensure the joints are fully closed and waterproof.
Handling the Curves: Scribing and Cutting Campervan Flooring
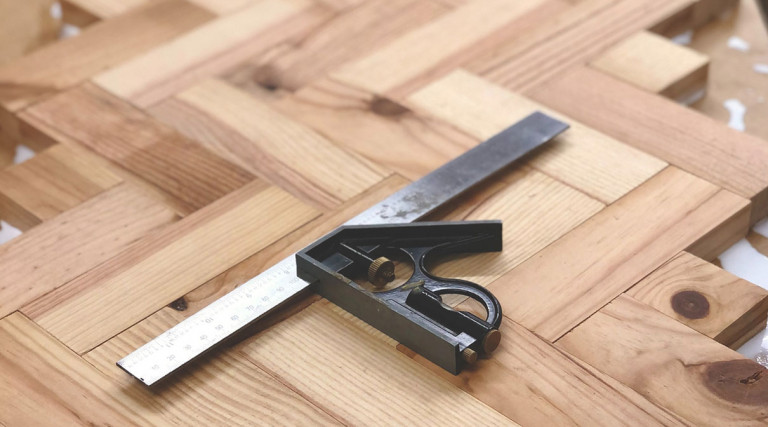
Vans aren’t square houses; they are full of curves, wheel arches, and pillars. Getting a professional finish on your campervan flooring means mastering the scribe.
Scribing: This is the pro secret. Lay your plank as close to the curved wall as possible. Use a compass (or a washer and pencil). Run the metal point along the wall while the pencil draws the exact curve onto your plank.
Cutting:
- Straight cuts:Score deeply with a sharp utility knife and snap the plank.
- Curves & Shapes: Use a jigsaw with a fine-toothed blade designed for laminate or plastics. Cut slowly to avoid melting the vinyl or chipping the edge.
Finishing Touches: Edging and Trims for a Pro Look
The difference between a DIY job and a pro build is the edging. You need to cover the expansion gap and protect the edges of your campervan flooring, especially at the sliding door and rear doors.
Aluminium Thresholds: Use a robust aluminium “L” or “T” profile trim at the doorways. This protects the vinyl edge from being kicked or damaged as you get in and out.
Silicone Sealant: For curved edges where trim is impossible (like wheel arches), use a high-quality, flexible silicone sealant in a colour that matches your floor or units. This seals the gap while allowing for movement.
Maintenance on the Move: Caring for Your Campervan Flooring
One of the best things about campervan flooring made from SPC vinyl is how easy it is to live with.
- Sweep or Vacuum: Regularly remove sand and grit which can act like sandpaper.
- Wipe Clean: Use a damp cloth or mop. Because it’s waterproof, you can wipe up muddy footprints or wet dog shake-off immediately without worry.
- Mats: Use a heavy-duty doormat at the sliding door to catch the worst of the dirt before it hits your living space.
Is Click Vinyl the Right Choice for Your Build?
For the modern campervan conversion, Rigid Core Click Vinyl is undeniably the superior choice. It bridges the gap between the rugged durability required for van life and the stylish, homely aesthetic we all crave on the road. It handles the temperature swings, shrugs off the mud, and looks fantastic doing it.
If you want a campervan flooring solution that is waterproof, warm, easy to install, and looks like a high-end apartment, SPC click vinyl is the upgrade your van deserves.