 Light
Light Grey
Grey Natural
 Dark
Dark White
White Light
Light Grey
Grey Natural
 Dark
Dark Black
Black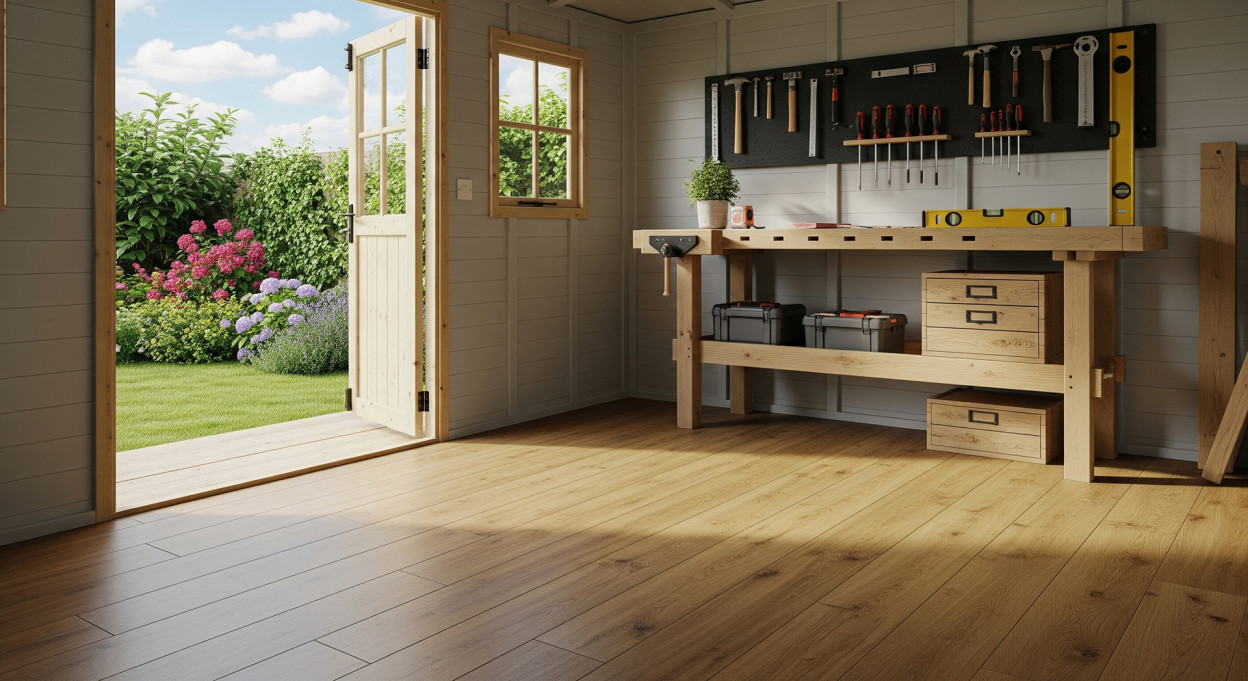
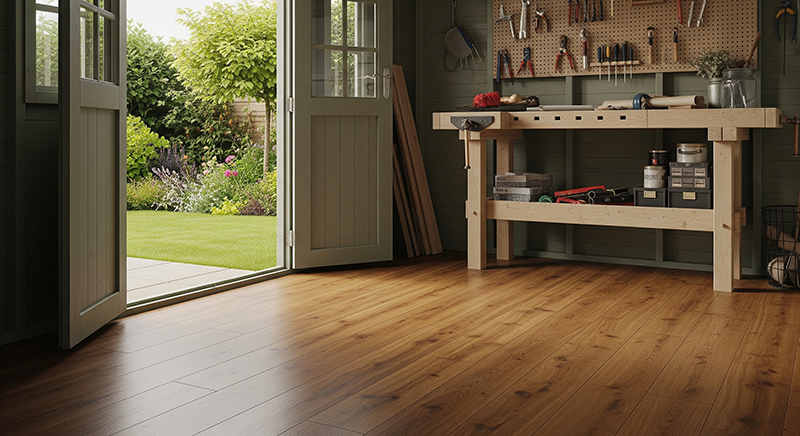
In the UK, a garden shed is so much more than just a place to store the lawnmower. It’s a workshop, a hobby room, a garden office, or a secure home for valuable tools and equipment. Yet, for all its potential, the success or failure of a shed often rests on one crucial, and frequently overlooked, component: its floor. A weak, damp, or poorly constructed shed flooring can lead to rot, damaged belongings, and a structure that fails long before its time.
Conversely, a solid, dry, and well-built floor provides the perfect foundation for decades of use. This guide is designed to be your definitive resource on shed flooring for 2025. We’ll walk you through choosing the right materials, the critical steps for building a robust timber base, and most importantly, how to properly waterproof the surface to protect your investment. Whether you’re building a new shed or replacing a rotten old floor, this is everything you need to know.
Jump to Section:
- Why a Solid Shed Floor is Non-Negotiable
- Choosing Your Structural Shed Flooring Material
- The Foundation is Everything: Building a Solid Shed Base
- How to Build a Timber Shed Floor Frame
- Laying Your Structural Shed Flooring
- The Crucial Step: How to Waterproof Your Shed Flooring
- Finishing Your Shed Floor for Maximum Durability
- Common Shed Flooring Mistakes to Avoid
- Making Your Shed Flooring Investment Last a Lifetime
Why a Solid Shed Floor is Non-Negotiable
Before we get into the “how,” let’s cover the “why.” The floor is your shed’s first line of defence against the damp UK climate. Ground moisture constantly tries to seep upwards, creating a damp environment that can lead to:
- Rotting of the structure: A damp floor will quickly cause the shed walls and floor joists to rot from the bottom up.
- Rusting tools and equipment: Expensive garden machinery, power tools, and bikes will rust and corrode in a damp shed.
- Unstable base: A weak floor can sag under the weight of heavy items like a workbench, shelving units, or a ride-on mower, making the whole structure unsafe.
Investing time and the right materials in your shed flooring is not an extra; it’s essential for the building’s longevity and the protection of its contents.
Choosing Your Structural Shed Flooring Material
This is the main board material that will form the surface you walk on. There are three primary choices for timber-framed sheds in the UK.
OSB (Oriented Strand Board):
- What it is: An engineered wood panel made from compressed layers of wood strands and adhesives. Look specifically for OSB3 grade, which is conditioned for use in humid environments.
- Pros: The most cost-effective option, strong, and widely available.
- Cons: While OSB3 is moisture-resistant, it is NOT waterproof. It will swell and disintegrate if it gets properly wet. It absolutely must be waterproofed after installation.
Plywood:
- What it is: Sheets of wood veneer bonded together. For a shed, you should consider exterior-grade or, for the best performance, Marine Plywood.
- Pros: Generally more water-resistant and structurally stable than OSB. Marine Plywood is manufactured with waterproof glue, giving it excellent resistance to delamination in damp conditions.
- Cons: More expensive than OSB. The surface can still be damaged by standing water if not properly sealed.
Pressure-Treated Timber Planks (Tongue & Groove):
- What it is: Solid timber boards that have been treated with preservatives to resist rot and insect attack.
- Pros: Extremely durable and rot-resistant. The traditional, heavy-duty choice.
- Cons: The most expensive option. Gaps between boards can let in drafts and moisture from below if not fitted perfectly.
For most DIY shed builds, 18mm OSB3 or 18mm exterior-grade plywood offer the best balance of cost and performance.
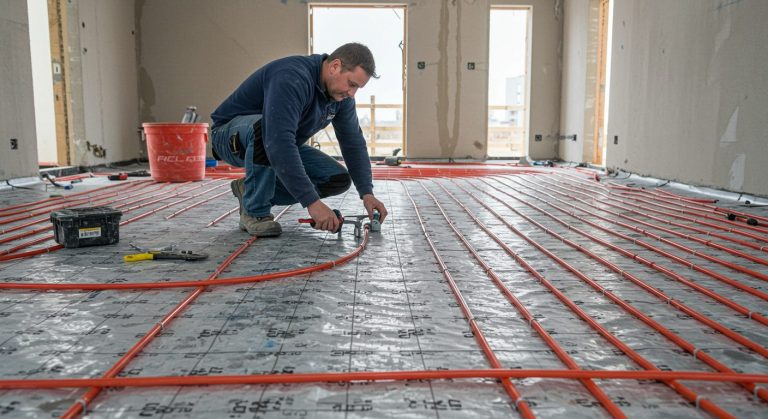
The Foundation is Everything: Building a Solid Shed Base
Your shed flooring system is only as good as the base it sits on. The base must be perfectly level and lift the shed completely off the damp ground.
- Concrete Slab: The most durable and permanent option. A professionally laid slab provides a solid, level, and dry base.
- Paving Slabs: A very popular DIY option. A grid of paving slabs laid on a compacted hardcore and sand base creates a stable and level foundation for the shed’s floor frame to sit on.
Never place your shed floor frame directly onto grass or soil.
How to Build a Timber Shed Floor Frame
Most UK sheds use a “floating” timber floor frame that sits on the prepared base.
- Build the Outer Frame: Create a rectangular frame from pressure-treated timber (e.g., 4×2 inch joists) to the exact dimensions of your shed’s footprint. Screw the corners together with long, heavy-duty exterior wood screws.
- Measure for Joists: The internal joists will support the floorboards. They should be spaced no more than 400mm (16 inches) apart from centre to centre for a strong, solid floor. Measure and mark these positions inside your frame.
- Install the Joists: Cut the internal joists to size and fix them in place using screws driven through the outer frame. Staggering the screws will prevent the wood from splitting. Ensure all joists are flush with the top of the outer frame.
Your finished frame should be a rigid ladder-like structure, ready for the boards.
Laying Your Structural Shed Flooring
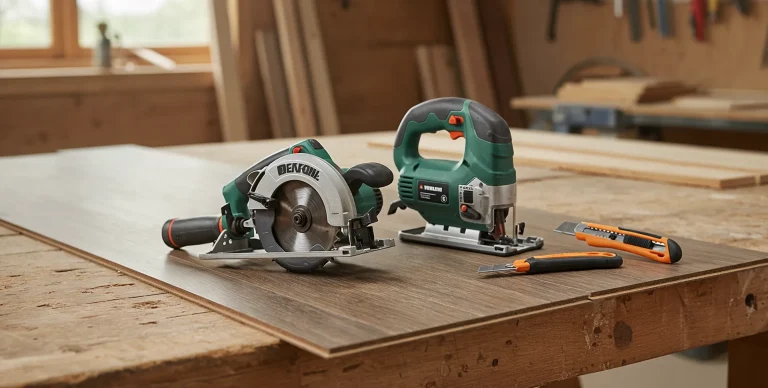
With your frame built, it’s time to attach the boards.
- Position the First Board: Place your first sheet of 18mm OSB3 or plywood onto the frame. Ensure the edges of the sheet finish in the middle of a joist to provide support for the next board.
- Fix the Boards: Secure the boards to every joist they cross using 40-50mm exterior-grade screws. Place a screw roughly every 150-200mm.
- Stagger the Joints: If your shed requires multiple boards, make sure to stagger the joints between rows, much like a brick pattern. This adds significant structural strength to the overall floor. Cut boards as needed to fit.
The Crucial Step: How to Waterproof Your Shed Flooring
Once the structural floor is laid, you must protect it from moisture. This is the most important step for ensuring the longevity of your shed flooring.
Method 1: Heavy-Duty Floor Paint (Best Option)
- The most effective method is to apply several coats of a high-quality floor paint. Look for a two-part epoxy resin floor paint or a heavy-duty polyurethane floor paint. These create a thick, durable, and completely waterproof plastic-like coating that seals the surface from spills, wet boots, and rising humidity. Apply at least two coats, paying close attention to the edges and any screw heads.
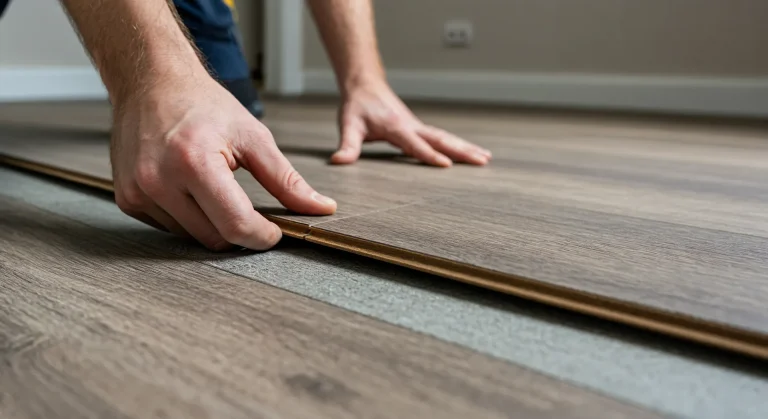
Method 2: Laying a Resilient Floor Covering
Another excellent idea is to cover the wooden floor with a fully waterproof material.
- Sheet Vinyl Offcuts: A very cost-effective and practical solution. A single, seamless piece of sheet vinyl (often called cushion floor) can be glued down to create a 100% waterproof, comfortable, and easy-to-clean surface.
- Luxury Vinyl Tiles (LVT): For a premium workshop or garden office, installing durable, waterproof LVT provides a smart and incredibly hard-wearing finish.
- Rubber Matting: Heavy rubber mats, especially interlocking tiles, offer great protection against impacts from dropped tools as well as being waterproof.
Method 3: Basic Sealing (Minimum Protection)
As an absolute minimum, you should seal the OSB or plywood with something. Several coats of a waterproofing sealer, exterior-grade varnish, or even a mix of PVA glue and water can offer some basic protection, but they are not as durable or effective as proper floor paint or a vinyl covering.
Finishing Your Shed Floor for Maximum Durability
Beyond simple waterproofing, consider how you will use the shed. If it’s a workshop, heavy-duty rubber mats in the main work areas can protect the floor from dropped tools and oil spills. If it’s a garden office or summerhouse, fitting a proper floor covering like LVT with skirting boards will provide a smart, domestic finish. A good quality paint not only protects but also brightens the interior, making it a more pleasant space to be in.
Common Shed Flooring Mistakes to Avoid
- Placing the Base Directly on Grass: Guarantees rot will set in quickly.
- Using Interior-Grade Materials: Do not use standard plywood or untreated timber for the floor frame.
- Inadequate Sub-Base: An unlevel or unstable base will cause the shed and its floor to warp and shift.
- Not Waterproofing the Floor: Leaving bare OSB or plywood exposed to the damp UK air is asking for trouble. The floor will absorb moisture, swell, and eventually fail.
- Spacing Joists Too Far Apart: Creates a bouncy, weak floor that will sag over time.
Making Your Shed Flooring Investment Last a Lifetime
A shed is a significant investment, and its floor is the foundation upon which its entire lifespan rests. The search for good shed flooring ideas should always start with a focus on durability and moisture protection. By building a solid, level base, using pressure-treated timber for the frame, choosing a robust board material like 18mm OSB3, and critically, applying a completely waterproof finish, you are not just building a floor; you are future-proofing your entire structure. A well-built and protected shed flooring system will provide a dry, stable, and reliable base for your workshop, studio, or storage space for many years to come.