
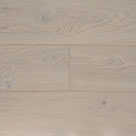
 Light
Light Grey
Grey Natural
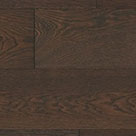 Dark
Dark White
White Light
Light Grey
Grey Natural
 Dark
Dark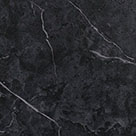 Black
Black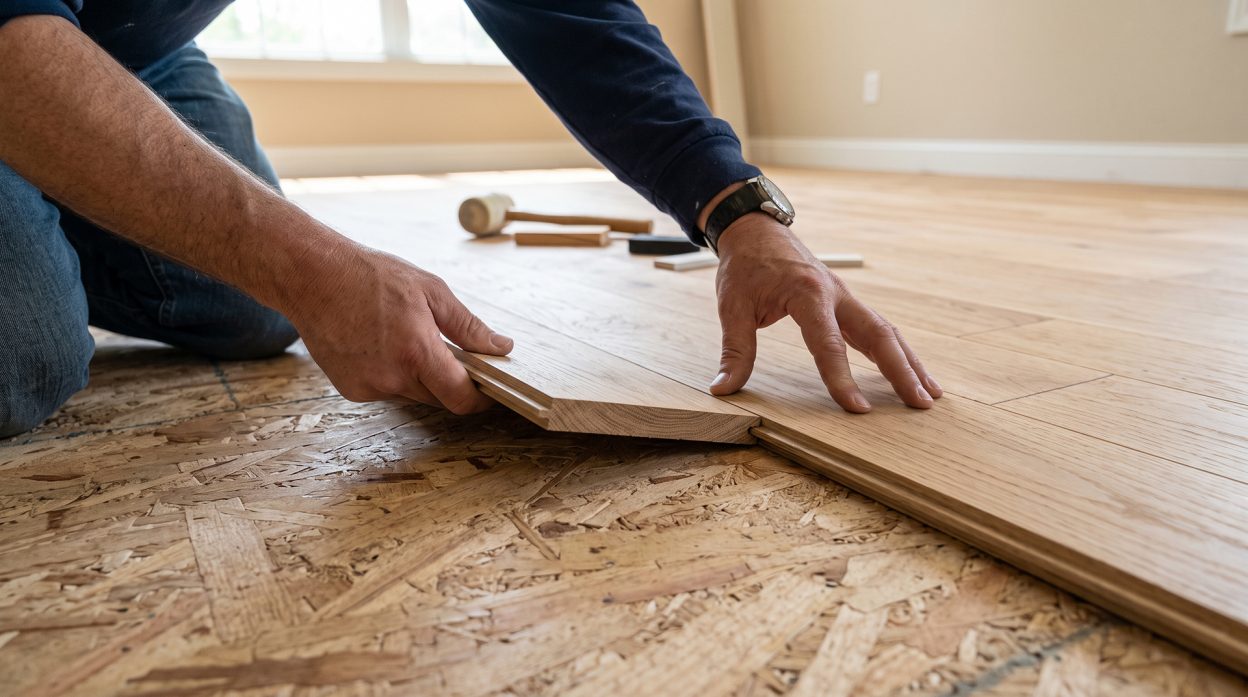
Pick up a plank of engineered wood, look at one of the long edges, and you’ll see a thin ridge running its full length. That’s the tongue. Flip the board over and the opposite edge has a matching slot. That’s the groove. Push them together and the joint holds the row tight. That little detail is what makes tongue and groove flooring such a quietly brilliant system, and it’s the same profile you’ll find across most of the floors we sell.
In this guide, we’ll help you decide whether it’s the right joint for your project, how it compares to click-lock, what to look for on the spec sheet, and which material is worth your money in each room of your home.
Jump to Section:
- What Is Tongue and Groove Flooring?
- Why Buyers Choose Tongue and Groove Flooring
- Tongue and Groove vs Click-Lock: Which Should You Buy?
- Which Tongue and Groove Floor Suits Your Room?
- What to Look for When You Buy
- Common Buyer Pitfalls (and How to Dodge Them)
- Choosing Your Tongue and Groove Floor with Confidence
- Final Thoughts on Tongue and Groove Flooring
What Is Tongue and Groove Flooring?
Tongue and groove flooring is any floor made from planks or boards that join together along their edges using a shaped profile. One edge has a protruding ridge (the tongue), the opposite edge has a matching channel (the groove). When you push two boards together, the tongue slots into the groove and the joint holds the row tight.
It’s not a brand, and it isn’t a material. It’s a method of joining boards that has been used in carpentry for hundreds of years, and it remains the standard way to fit real-wood floors, engineered wood floors, laminates, and most luxury vinyl planks.
The key thing for you as a buyer is this: when you choose tongue and groove flooring, you’re choosing a joining method as much as a material. The profile is what makes the floor feel solid underfoot, what keeps the seams tight as the seasons change, and what gives a professional finish that lasts.
Why Buyers Choose Tongue and Groove Flooring
So why does this old-school joint keep showing up on modern floors? Because the benefits stack up:
- Tight, even seams. A well-cut tongue and groove joint closes flush. No daylight between boards, no obvious gaps, no raised edges to catch socks.
- Solid feel underfoot. Glued or nailed tongue and groove floors feel reassuringly firm to walk on. There’s a reason high-end installations still use this method.
- Proven longevity. The joint has been around for centuries because it works. A well-fitted tongue and groove floor can comfortably outlast cheaper click-only systems.
- Works with any material. Engineered wood, solid wood, laminate, and most LVT all use some version of this profile. You’re not locked into one material type.
- Professional finish. Fitters know the method inside out, which means you’re more likely to get a clean result without paying for the learning curve.
The trade-off is that classic tongue and groove floors often need glue along the joint or secret-nailing into the subfloor. That makes them slightly less DIY-friendly than pure click systems, but the result is usually worth the extra effort.
Tongue and Groove vs Click-Lock: Which Should You Buy?
It’s also the question that comes up most often, and the honest answer is that the lines are blurry. Most modern “click” floors are a tongue and groove profile with a clever locking shape added on top. The shaped edge still slides into a matching recess; it just clicks firmly into place rather than needing glue along the joint.
Here’s a simple way to think about it:
| If your project looks like this… | Go for… |
|---|---|
| You’re a confident DIYer fitting laminate or LVT in a bedroom or home office | A click-lock floor (Pro-Tek™ Editions or Pro-Tek™ Excel work beautifully) |
| You’re investing in real engineered wood for a living room or hallway and want the most solid feel | A traditional tongue and groove floor, glued or secret-nailed |
| You’re replacing a floor quickly before selling or letting a property | Click-lock, for speed |
| You’re working with a professional fitter and want the premium finish | Either system, fitted properly |
A few practical notes worth weighing:
- Click-lock is faster to lay, more forgiving on uneven subfloors, and usually lifts cleanly if you ever need to replace a damaged board.
- Traditional tongue and groove feels more solid underfoot when glued down, suits thicker boards, and is the standard for solid hardwood and high-end engineered wood.
- Both systems use a tongue and groove profile in some form, so you’re not choosing “T&G vs no T&G”; you’re choosing how the joint locks together.
If you’re not sure which to go for, the safe answer for most modern projects is click-lock. If you’re investing in a premium engineered or solid wood floor and you have a good fitter, the traditional glued tongue and groove joint is hard to beat.
Which Tongue and Groove Floor Suits Your Room?
This is where most buyers get stuck. The material choice matters more than the joint choice, because the material decides how the floor handles moisture, traffic, and daily life. Here’s how it usually breaks down:
- Living rooms, dining rooms, and home offices. Engineered wood is the sweet spot for tongue and groove flooring here. It looks and feels like solid wood, handles normal humidity shifts well, and works with underfloor heating when specified. Our engineered wood flooring ranges cover everything from thicker 18mm boards you can refinish in decades, down to 12mm and 14mm options for quicker, budget-friendly projects. Plank and herringbone formats are both available.
- Kitchens, bathrooms, and utility rooms. You want something waterproof. Luxury vinyl click flooring built on an SPC rigid core, such as Pro-Tek™ Editions or Pro-Tek™ Excel, gives you the same tongue and groove profile with a waterproof core that shrugs off spills, splashes, and the occasional flooded dog bowl.
- Bedrooms. Almost anything works. Engineered wood for warmth, laminate for budget, LVT for spill-proof peace of mind if you’ve got kids climbing in and out of bed with drinks. Whichever tongue and groove flooring you pick, bedrooms are one of the easiest rooms to make feel right.
- Hallways, stairs, and high-traffic zones. Go tougher. A hardwearing engineered wood with a thick wear layer, or a rigid vinyl with a high AC rating. Hallways in particular benefit from herringbone or other patterns that disguise the inevitable scuffs better than long planks.
- Home offices and studies. Engineered wood or LVT, depending on preference. If you’ve got castor chairs, choose a product with a tough wear layer and pair it with a chair mat.
There’s no single “right” answer. The right floor is the one that matches the room’s demands and your taste, with the joint doing the same job in any of them.
What to Look for When You Buy
Once you’ve narrowed down the material, the spec sheet tells the rest of the story. Here’s what to check first:
- Overall board thickness. For engineered wood, 12mm to 18mm is the range. Thicker boards feel more solid underfoot and can usually be refinished once or twice in their lifetime. For LVT, 5mm to 8mm is standard; thicker tends to feel more substantial and hides subfloor imperfections better.
- Wear layer thickness (engineered wood only). This is the real-wood layer on top. Anything above 3mm can typically be refinished; below that, you’re committing to a surface finish that needs to last.
- Finish type. Lacquered finishes are tougher and lower maintenance; oiled finishes look more natural and age gracefully but want the occasional re-oil. Neither is wrong, just a preference.
- Plank dimensions. Wider planks (180mm and above) make smaller rooms feel grander and reduce the number of seams. Narrower planks suit period properties and tighter spaces.
- Profile precision. A clean, precisely machined tongue and groove profile is the difference between a board that slots together first time and one that needs persuading with a mallet. This is hard to judge from a website, so it’s worth ordering a few samples before you commit.
- Underfloor heating compatibility. Not every floor suits every system. If you’ve got underfloor heating, or are planning it, check before you buy; our Underfloor Heating guide covers the compatibility basics.
- Warranty and brand reputation. A genuine warranty backed by a brand you can actually contact matters more than a flashy brochure.
If the spec sheet makes your eyes glaze over, that’s normal. That’s also why ordering samples and asking questions is the smartest move before committing to any tongue and groove flooring.
Common Buyer Pitfalls (and How to Dodge Them)
Buying a tongue and groove floor is the kind of decision where the same handful of mistakes trip people up time and again. None of them are disasters; they’re just things that are easier to avoid than to fix later.
- Choosing the wrong material for the room. The single biggest one. Beautiful solid wood in a bathroom, bargain laminate in a busy hallway with a dog and a toddler. Match the material to the room, not just the look.
- Skipping the samples. Pictures lie. Light, surrounding colours, and even your subfloor colour change how a floor looks. Order free samples, live with them for a few days, and decide with your own eyes.
- Forgetting underlay. Especially with laminate and click vinyl, the wrong underlay (or none at all) makes a tongue and groove floor feel hollow, sound noisy, and wear faster. It’s not optional.
- Underestimating wastage. Order 10% extra for plank layouts, 15% for herringbone or diagonal patterns. Offcuts become useful, but only if you have them.
- Ignoring underfloor heating compatibility. Some floors love underfloor heating; some really don’t. Check the spec before you commit.
- Buying on price alone. The cheapest board often looks the cheapest in two years. Buy the best your budget allows for the rooms that get the most traffic.
- Forgetting the accessories. Don’t forget door bars, scotia beading, and the right cleaning products in your budget. The floor itself is the headline, but the accessories make the install look finished.
One more, and probably the most common: don’t fall in love with a tongue and groove board online before seeing it in person. The pictures flatter almost every floor out there.
Choosing Your Tongue and Groove Floor with Confidence
Buying a tongue and groove floor should feel exciting, not stressful. Here’s the process we’d recommend:
- Shortlist three or four tongue and groove flooring options based on the room, your budget, and your taste. Our free flooring guides and FAQs help narrow things down quickly.
- Order free samples of your favourites. Live with them in the actual room for a few days. Watch how they change in morning, afternoon, and evening light.
- Talk to a human if you’re stuck. Our request a callback service puts you in touch with one of our flooring experts. No scripts, no pressure, just honest advice.
- Visit us if you can. Our Paignton flooring showroom lets you see the boards at full scale. A 200mm wide plank looks very different on a website to a 200mm wide plank across an entire showroom floor.
- Place your order with confidence, knowing you’ve made the choice for the right reasons.
That’s it. No jargon, no upselling, just a sensible process that’s helped thousands of customers land on a tongue and groove floor they still love years later.
Final Thoughts on Tongue and Groove Flooring
Tongue and groove flooring has earned its place as the default way to join floorboards, and for good reason. The joint is forgiving to fit, strong in service, and used across virtually every type of floor we sell. Choose the right tongue and groove flooring for your room, take your time over the samples, and you’ll end up with a floor that quietly does its job for decades. Order your free samples today to feel the quality for yourself, and remember free UK delivery on orders over £500 (excluding VAT) keeps things straightforward when you’re ready to go.